There are many things to learn when you start woodworking. One of them is learning how to cut a square hole into a piece of wood.
It’s an essential part of woodworking as it helps you make proper joints.
Not only for joints but there are various other instances where you may need to cut the hole.
For example, you may need to cut a square hole in the back of a wardrobe in your bedroom to install ventilation ducting or to install plumbing or electrical wiring.
Additionally, you may need to cut a square hole in the back of a cabinet to accommodate a recessed light fixture.
What follows is a simple guide on how to correctly make the right square shape cuts in your wood block or the board – using different methods.
Here I will try to give you all the possible details on safety measures along with the proper tools you will need to use.
Making the Square Cut in Wood
Before you proceed with anything, remember to be safe. Safety should be the first step in any woodworking project that you do.
Always consider what you need first to protect yourself from the sharp blade and wood splinters that may be generated.
- Wear Safety Goggles
- Put on Protective Clothing
- Follow All Instructions
- Employ Good Ventilation
- Sharpen All Blades
Dull blades can slip, so sharpen them thoroughly. Also, remove any distractions that might turn your focus away from your work.
In addition to the safety concerns, watch what you are doing so that you get the measurement rights.
Measure twice and cut once is a good tip to follow.
Collect some basic tools and draw the shape
To create a square hole in wood, you will need the right set of tools. Some of the tools are quite basic, but you will need them to do the job right. These include:
- Pencil & Measuring Tape
- Straightedge & Framing Square
- Sandpaper & Oscillating Tool
Now that you have the safety equipment and some basic tools, the next step is to make the cut.
Start by drawing the perfect square on wood. This starts by finding the center point. Be sure to mark that point with your pencil.
Now you need the framing square to draw the area that will be cut. Once you make the drawing, check the dimensions again to ensure their accuracy.
Now that you have the correct square shape, you are ready to use the woodworking tools for the next steps.
Now, how do you cut a square hole in wood?
The key to creating the best square cuts is understanding what mortise and tenon joints are and how they work.
Also, making the cut will depend on the type of project and the tool you want to use.
Like if it’s a wood block you want to cut for joints, it will be different than cutting a square in the plywood board.
Depending on the type of project, several types of tools may be used, so here is how to cut the square holes into wood using different methods…
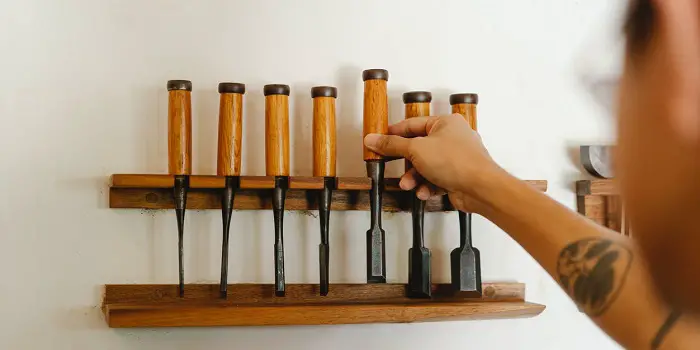
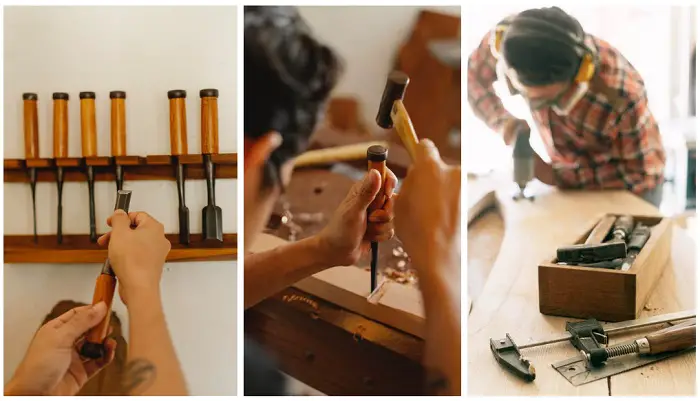
1- Square Cut in Wood with a Chisel
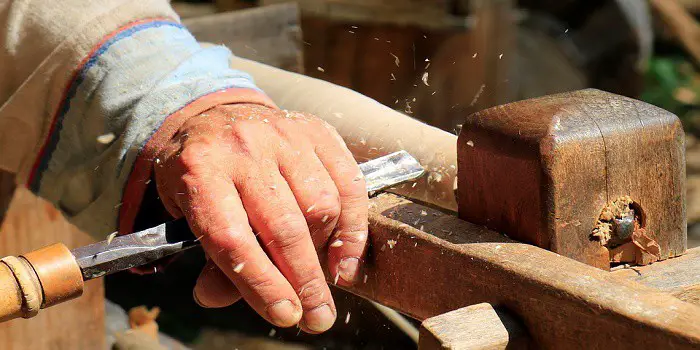
The chisel is the most basic tool to use in cutting a square hole in wood. This is one of my favorites, as it will help you get complete control over the job and the type of cut you will be making.
The chisel is best used on small or thin pieces of wood that might otherwise be damaged by larger tools.
But how can you cut the hole into the wood using the chisel – let’s take a look…
- Place the tip of the chisel just inside a corner of the square
- Tap the chisel with a hammer. Use harder taps until it cuts into the wood
- Keep tapping until you cut through the wood itself
- Repeat for each corner
With all four corners out, that should clear the hole. If not, then chisel away the excess on the sides.
As you might suspect, it takes some time and effort to make the proper cut.
You’ll also need to practice before starting, so you can get a better idea of how the chisel will work.
So, in my opinion, if you have never used a chisel before and are not very confident, use some scrap wood first as practice material before making the cut into the wood.
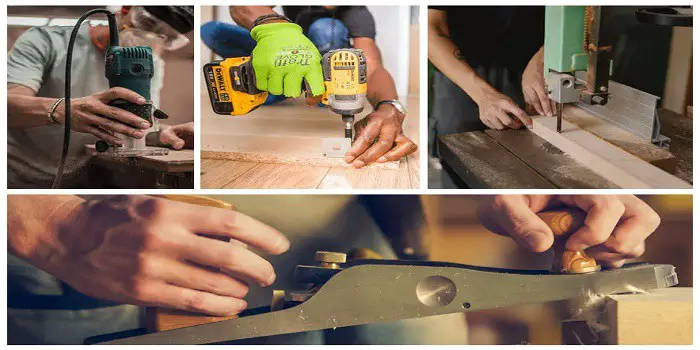
2- Cutting Square Hole Using a Drill and Saw
Using a drill and cordless circular saw (or jigsaw) can be used to cut a square hole in the wood with the following instructions.
- Start by using the drill with a proper drill bit.
- Just like the chisel, place the drill in one corner of the square.
- Drill through the wood and repeat the process for each corner.
- Now, use the saw to cut away the remaining material along the reference lines.
This method is perfect for larger pieces of wood, especially large surfaces for big woodworking items that you are creating.
Whether the wood is thick or thin, either tool works well for cutting a square.
The drill is almost self-explanatory, but the saw does require a bit more technique to make a proper cut.
3- Using a Router to Cut Square Hole in Wood
The router is not the ideal power tool for cutting out squares, but it can work if you have no other tools available.
This will require some experience on your part in terms of working with the router.
A router is best on thick sheets of wood and can actually save you time compared to other tools in this regard.
- Precision is the order of the day, so the first step is to create a template using the guide and the right router bits.
- Next, the square dimensions should be used as the layout for the template.
- Next is the tricky part, as you will need to add 0.35” in each line of the template to account for the drill bit.
- Now, drill a pilot hole in one corner of the square, which will serve as the starting point.
- Now, you are ready for the router. Turn it on and place it in the hole, then move it along the lines of the square.
- When you reach the first corner, rotate the wood so the next line is straight up, and then move the router along that line.
- Repeat the process until you have cut out the entire square.
If you are experienced with a router, this may be the best method for cutting square holes and recessing into thick pieces of wood.
Finishing-up the Job
Although you have cut out the square in wood successfully, your job is not finished yet.
You can use another tool, such as the jigsaw, to finish out the hole. But there are other methods as well if you do not have access to a jigsaw.
The best is to use sandpaper to smooth out the edges. This will get rid of any imperfections, so you wind up with smooth sides to your square hole.
Start with low-grit sandpaper, and then work your way up to the higher-grit versions for the best results.
One tip is to use an oscillating tool if the edges are too rough for even the sandpaper to smooth out.
Use the oscillating tool, then switch to the sandpaper.
How to Cut a Square Hole in Wood by Hand?
The most accurate way to cut a square hole in timber by hand is to use a drill and a hand saw.
First, use the drill to make four small holes at each corner of the square. Then, use the hand saw to cut along the lines between the holes.
Be sure to use a sharp saw and take your time to get a clean, straight cut.
Just in case there’s also a cut you need to make in a metal sheet (which may be attached to the wood board), the most common and effective method is to use a power drill with a metal cutting drill bit.
First, use a marker or pencil to trace the outline of the square onto the metal sheet. Then, use the drill to create small pilot holes at each corner of the square. Lastly, use the metal cutting drill bit to cut along the lines between the pilot holes.
Be sure to use a slow and steady speed when cutting to avoid damaging the drill bit or metal sheet.
How Do You Cut a Square Hole in the Back of a Cabinet?
The easiest way to cut a square hole in the back of a cabinet is to use a power drill with a spade bit.
First, use a marker or pencil to trace the outline of the square onto the back of the cabinet.
Next, using a drill, create four small pilot holes at each corner of the square. Finally, use the spade bit to cut along the lines between the pilot holes.
When cutting a line of text, be sure to maintain a slow and steady speed to minimize harm to the drill bit or cabinet.
Final Thoughts
Cutting square holes in wood can be tricky for beginners. But with the right tool set and some patience, you can do it easily.
Once you have cut a few square holes, the process will become second nature.
Just remember to always wear your safety equipment when performing the woodwork!
Share the post "What to Use for Cutting Square Holes in Wood – And How?"

One of the best ways to clean your yard of twigs, leaves, and tree branches after a storm is to Read more
Whether you have been working with wood all your life or just getting started, having the proper tools is a Read more
It’s possible to only use hand or manual tools when woodworking, but then it becomes a slower process. For certain Read more
If you have never used this, steel wool is a collection of very thin steel wires bundled together in the Read more

Hi, I am Mark Garner a professional carpenter, woodworker, and DIY painter. I live in the small city of Peoria, Arizona as a semi-retired woodworker. I have started this blog with a simple motive to help you with my wood experience in this sector. If you like to know more about what I love doing and how it all got started, you can check more about me here.