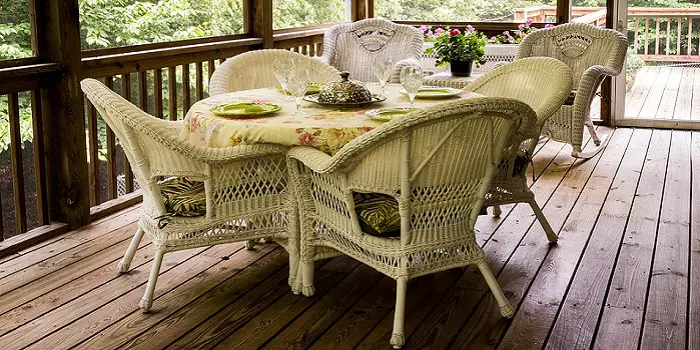
Wicker wood furniture is classic and timeless.
Those who own them know how stylish they look, and those who don’t desire to have one in their home because of the vintage look they offer.
If you have wicker wood furniture in your vintage-inspired rooms that needs refinishing, DIY dying wood and wicker with Rit dye can be one great option.
Not only will the Rit dye offer them a most appealing look but also the durability that lasts for a long.
In this detailed step-by-step guide, I will discuss how you can use Rit dye for tinting wood. But before that, let’s start with what Rit dye is and why on earth you should consider using it for your antique furniture piece.
What is a Rit Dye?
“Rit” is basically a brand of dye that was first sold in 1916.
Since then, it has been sold as a type of commercial dye that can be used for various household purposes, such as dyeing wood, fabrics, and clothes.
The Rit is a water-based dye available in solid as well as powdered forms, which can be mixed in hot water to dye the items.
You can use them for dying natural fibers like cotton, wool, and silk as well as for synthetics like nylon and rayon.
What is it made of?
Rit dye formulas are made from ingredients that include various acids, and sodium chloride, along with several dispersed and direct dyes.
The brand claims that its products are non-toxic and can be safely used for dyeing various household items and art projects.
Why use it to color wood?
The reason why homeowners use Rit due for coloring the wood is its ability to customize the looks and shades that cannot be found in any furniture stores.
With nearly 1000 color blends and tints, I think it’s not impossible to get whatever color you have in mind.
The few most common colors that are widely used and are available easily include Black, Royal Blue, Navy Blue, Kelly Green, Tangerine, Fuchsia, Scarlet, Purple, Teak, Tan, Scarlet, Chery red, Indigo, Taupe, and Lemon Yellow.
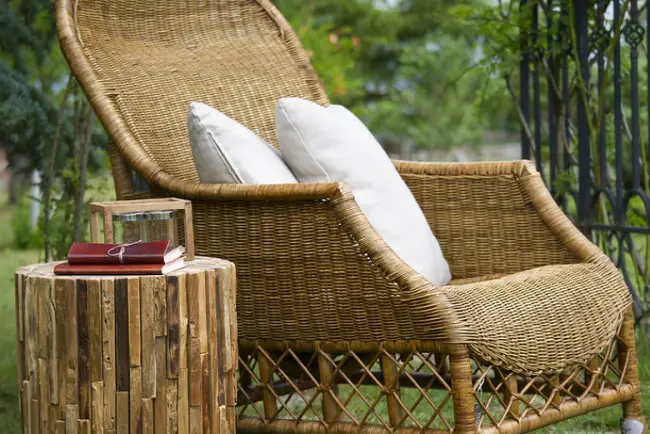
Another advantage of using water-based Rit dye on wicker wood furniture is it adds depth and texture to the item by allowing the natural wood grain to show through beautifully.
Moreover, once you have applied the dye to your furniture, the dye is absorbed deep inside the wood and wicker (much like a stain), which means the colors won’t chip, peel or fade away like the paint.
Also, if you ever want to undye the dyed cloth or wood, you can do it with Rit Color Remover.
How to Color Furniture with Rit Dye?
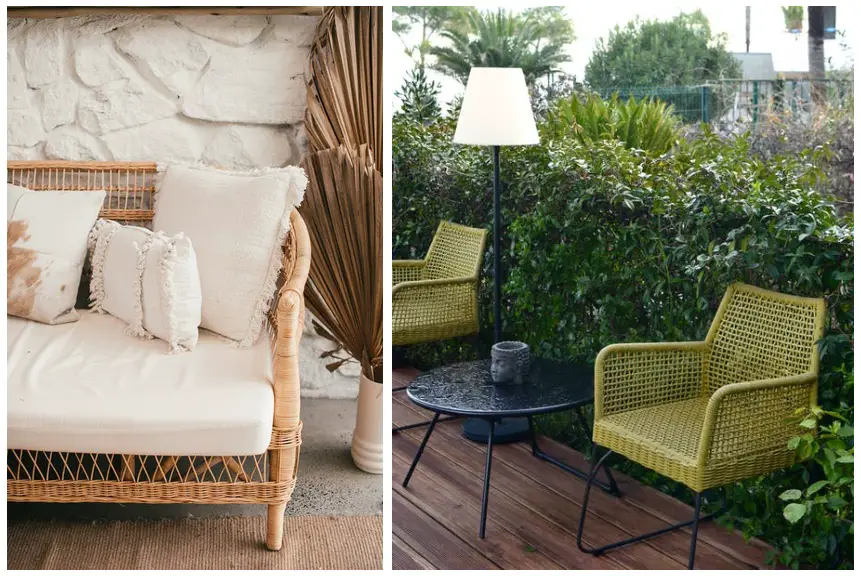
Rit dye works very well on unfinished wood and a range of furniture items, whether indoors or outdoors.
When applied carefully, you can give your items (like tables, chairs, couches, stools, etc.) a fine rustic look that looks amazing.
To help you get success in your DIY project, here are the steps and instructions you need to follow.
Step 1 – Prepare
When working with dyes (or, for that matter, with any other chemicals), make sure you put on your gloves to stay protected.
If inhaled, the finely powdered dye may cause breathing problems. So, it’s good to also use a face mask, especially for those with respiratory problems.
Also, cover the floor area with a plastic cover or some newspapers. And have some paper towels nearby that can help with possible dye spills.
Next, you will need to prep the wood surface, which you need to dye.
If the item you are dyeing is already painted, varnished, or waxed, the wood won’t take the dye well.
So, scrape and sand the surface lightly to remove the finish. Then wipe clean the surface with a rag or a cloth.
Step 2 – Mix the dye
To get your dye ready, mix 1/2 cup of liquid Rit dye in 2 cups of very hot water.
Mix 1 box with 2 cups of hot water if you are using powdered dye.
Based on how large the surface (or project) you need to dye, increase the water and dye in the same ratio.
Before applying the prepared dye, test the color on an inconspicuous area of the wood.
Based on how light or dark the color you want, you can add some water or dye.
But remember, the dye will always dry a bit lighter. So, you should prepare the color keeping this in mind.
Step 3 – Apply the dye to wood
With a foam brush or a bristle brush, apply the dye to your furniture evenly in all areas.
Depending on the design of your wicker furniture, consider using a few rag pieces for applying dye which will make the job much easier.
For better absorption of the dye, it’s important that you keep the dye hot while applying – if needed, microwave the cup of Rit dye between the applications for a minute.
If you want, you can choose to apply a darker and lighter color (using diluted and undiluted dye in two cups) in different areas to get a contrasting ombre effect.
Step 4 – Sand and apply a second coat
Allow 2-3 hours of time to dry the first coat of the dye.
Then sand the furniture lightly using fine sandpaper (#220 grit) or steel wool. This will reveal the wood grains better.
Clean the sanded area with a tack cloth, apply the second coat using a brush, and let it dry completely for 6-8 hours.
While this step is optional, I recommend doing it for a better finish.
If you want, you can apply the same shade or a darker shade over the first coat, which will make the furniture look darker and brighter.
Step 5 – Apply the top clear finish
After the Rit dye is completely dry, apply one or two coats of clear polyurethane (or any other varnish) to finish the wicker furniture with a new bristle brush.
You can choose the finishes like satin, semi-gloss, or glossy to give the furniture a clear matte or shiny look as per your desire.
While a lustrous finish looks good, it can be difficult to maintain. The Matte clear finish on the hand is easy to clean, gives better protection, and will last for a long.
TOP TIP:
Softer woods like pine and wicker are more absorbent. These can be coated well with 1-2 coats of dye.
Whereas your tables and chairs made of solid hardwoods (like oak and cherry) may require a few additional coats to get the right finish.
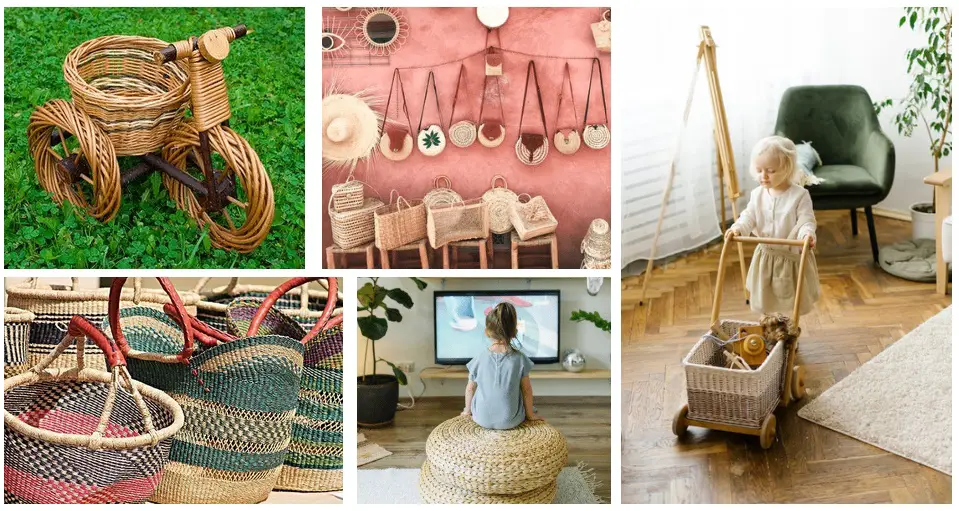
Can You Stain Wood Toys with Rit Color Dye?
IMO, food coloring is the safest choice for tinting wood toys.
These act like food-safe wood dyes that are nontoxic and extremely safe even for toddlers.
In a pinch, you can however use Rit dye to recolor and refinish the toys made of wood.
Applying Rit dye on wood furniture or other larger objects is easy and can be done with a simple paintbrush.
But smaller objects like wicker handbags, baskets, toys, etc., can be tricky to dye.
To make things work easily, you will need to choose the immersion method instead of a brush.
With this dyeing method, you will help get a nice dip-dyed look on the wooden toys and other items.
- Prepare the dye in a container by mixing 1/2 cup of liquid dye with two quarts of very hot water.
- After you have prepared the dye, dip the toy in the dye for about 10-15 minutes.
- Rotate or turn the items occasionally so that the dye gets covered evenly from all sides.
- Take the items out and let them dry; dip them a second time to apply the second coat (if required).
- Once completely dry, apply a coat or two of polyurethane to the dyed toy to get the desired shine.
Wood Dye vs. Stain: What’s Better for Refinishing
Although it’s a matter of personal choice, there are a few differences between these products which you should consider before coloring your wicker furniture.
Dyes are usually made up of microscopic particles that will penetrate the wood surface, whereas wood stains are made up of colored pigments that will penetrate and adhere to the grains and pores of the wood surface.
Due to the small and large structured molecules, the fundamental difference between the wood dye and wood stain is in the result and effect they produce on different wood species.
| Wood Dyes | Wood Stains |
|---|---|
| Microscopic particles | Larger particles |
| Highly soluble in water or alcohol | Less soluble in the different solvents |
| More lightfast – prone to fading in sunlight | Less lightfast – does not easily fade in sunlight |
| Less pricey | Expensive, but more durable |
| Comes in a wide range of colors | Limited color options |
Final Thoughts
Rit dye isn’t only for dyeing your fabrics; it’s also a fast easy method to recolor and restore your old wood furniture.
You can use it even for dyeing your crafts, home decor items, gift baskets, and a variety of other different items.
The key benefit is it does not cover the grain of the wood and will offer enhanced texture and dimension when used on items like wicker and rattan.
Share the post "How to Color Your Wicker Wood Furniture with Rit Dye?"

We are constantly finding new ways to update our home exteriors. If you are a bit tight on budget, renovating Read more

Cypress wood has been used for thousands of years in shipbuilding, so it is well-known for its water-resistance properties. Due Read more

We all know - Heat is the enemy of wood. When you place a hot item on a wooden surface Read more

If you are looking to upgrade your dining room but are on a budget, then painting your oak table and Read more

Hi, I am Mark Garner a professional carpenter, woodworker, and DIY painter. I live in the small city of Peoria, Arizona as a semi-retired woodworker. I have started this blog with a simple motive to help you with my wood experience in this sector. If you like to know more about what I love doing and how it all got started, you can check more about me here.