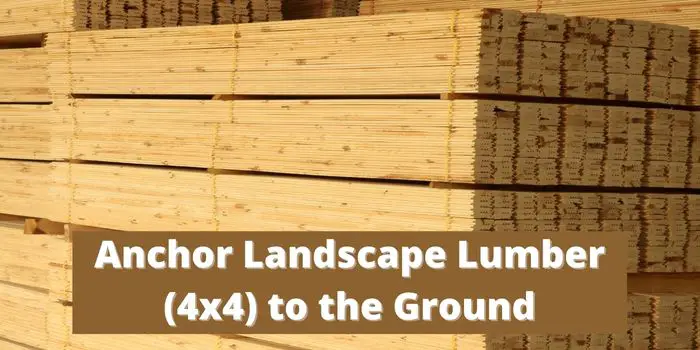
Sometimes called landscape timber, landscape lumber is a product used to fashion raised beds and retaining walls, edging, and steps.
The lumber must be properly secured to the ground to ensure that the feature remains stable for a long time. This often means multiple layers of wood that are connected or fastened together to increase their inherent strength.
What follows is how to properly anchor landscape lumber to the ground using 4x4s. The process itself is straightforward, but it needs to be carefully done to ensure that no major gaps or issues develop once the retaining structure is in place.
What Do You Need?
Before you get started, there are a few items that you will need to get the job done properly. Here is a list of necessary items that you will need along with the timber.
- Chalk
- Measuring Tape
- Drill w/Long Shaft 3/8” Bit
- Sledgehammer or 3-Pound Hammer
- Rebar: Three 18” Sections
- 12” Galvanized Steel Spikes
In addition, you will need the proper tools to dig the trench or level the ground where the timber will stand.
If you are building steps using timber, you will also need to anchor each step into the ground. This can be accomplished using a rebar that is long enough to extend into the slope.
Anchoring Landscape Lumber (4×4) to the Ground
Now you are ready to get started with the steps necessary to anchor landscape lumber into the ground using 4x4s.
Step 1- Placement
You will need to create a trench or a properly prepared surface where the timbers are to be placed. Position each piece to ensure that it will fit properly.
Plus, make sure that the ground supporting the timbers is level or has the slope that you desire.
Step 2- Mark
Now, use chalk to mark the points where you will drill into each of the timbers. The points should be centered within the width of the log, roughly 12” from each end.
If the sections of timber you are using are more than 4’ long, you will need to create an additional mark between the ones you already made so they are no more than four feet apart in the distance.
Step 3- Drill
With everything properly marked, you can now drill the holes in the timber.
Step 4- Rebar
Pound the #3 rebar through each pilot hole that you created. Keep in mind that the rebar must be around 18” in length.
Step 5- Locate
Each rebar section must be located and properly marked. The same will be true of the spikes that will be added.
Use the chalk on the face of the timber if more rows are going to be added. Each row should be properly secured so that it remains in place.
Step 6- Align
Once you have finished with the first row, you are now ready to add another row of timbers to the top. This assumes that your structure requires multiple rows.
The timbers will need to be staggered so the joints between each section are not aligned between each row. This will add strength to the structure so that it will better resist the pressure.
Step 7- Mark Again
Place chalk marks on top of the timbers. The marks should be 6” to 8” from the end of each timber. Make an additional mark or two in the center of the timbers as well.
Ensure that the marks you make on top of the timbers do not align with the marks made for the face of the first row. Again, this will help create a stronger structure.
Step 8- Drill
Next, drill a pilot hole into each mark that you have made.
Step 9- Insert the Spikes
You will need to pound the 12” spikes made from galvanized steel into each of the prepared holes. Make sure that the spikes are fully inserted before moving to the next one.
Step 10- Repeat for Each Row
Once you have completed the process of staking, marking, drilling, and inserting the spikes on one row, repeat the process for each succeeding row until the desired height of the structure has been created.
Now that you have completed the structure, you should test it to ensure that it has the strength necessary to withstand the pressure that will be applied.
When tested, the structure should stand firm for quite some time.
Inspect periodically for any weaknesses, seepage of groundwater, or other issues that might affect the integrity of the raised beds or retaining walls, steps, or edging made from the lumber.
Share the post "How to Anchor Landscape Lumber (4×4) to the Ground?"

Termites are recognized as one of the most troublesome pests all over the world. They are small and numerous and Read more

Our bedroom is a special place where we find relaxation and refresh after a hard day of toil - the Read more

Let’s be honest: buying a sofa is a bit like dating. In the beginning, it’s all about the looks. You Read more

Wooden furniture, trims, doors, and windows are so long-lasting that you can easily repair and reuse them even after they Read more

Hi, I am Mark Garner a professional carpenter, woodworker, and DIY painter. I live in the small city of Peoria, Arizona as a semi-retired woodworker. I have started this blog with a simple motive to help you with my wood experience in this sector. If you like to know more about what I love doing and how it all got started, you can check more about me here.