Every woodworker knows how important it is to have the right tools for the job. The J-Roller is one such must-have tool when it comes to installing wall planks.
This product ensures that pressure is applied evenly across the entire plank, thus providing maximum adhesion. During the process, this is an important step to ensure that the planks have correctly adhered to the wall.
The J-roller is also super easy and comfortable to use as it features a grip that allows for flexibility so that you can focus on creating beautiful, masterful craftsmanship.
If you are eager to know more about how to use this tool correctly, what are its wonderful features, and also get some tips, then this article is for you. Let’s roll on…
What is a J Roller?
As I just said, the J-roller is an excellent tool for installers to apply pressure to wall planks evenly during installation. It’s a tool that is specially designed for applying laminate as well as veneer.
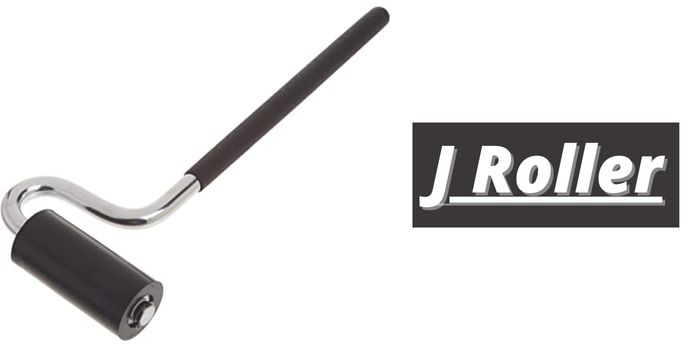
Basically, it is a J-shaped rolling tool with a J shape handle (that’s where it got its name) that features a comfortable aluminum handle, a soft vinyl hand grip, and a wide non-marking padded roller made of rubber.
This is what allows for even pressure to be applied across the plank while providing maximum adhesion. The result is beautiful, long-lasting walls that are reflected in your home’s value.
The top-notch J-roller is also great for other things such as:
- Applying wallpaper
- Hanging pictures
- Installing Crown molding, and much more.
How to Use a J Roller Correctly?
Now that we know what this tool is, let’s get into how to use it correctly.
When you are ready to install your wall planks, make sure that you have the following materials:
- J-roller
- Adhesive
- Wall planks
- Measuring tape
- Level
- Pencil
- Chalk line
- Caulk and Caulk gun
- Spackle
- Sandpaper
- Safety goggles
Instructions
1- Prepare the walls
First things first, you will want to make sure that your wall is prepared for the planks.
You will need to fill in any holes or imperfections with spackle and sand them down until they are smooth.
Next, you will want to apply a bead of caulk around the perimeter of the wall. This is an important step because it will help create a seal that will prevent any water damage.
2- Measure and mark
After the caulking is complete, you will then want to measure and mark the area where you will be placing your first plank.
It is important to make sure that you measure correctly and use a level so that your planks are installed evenly.
Once you have measured and marked where your first plank will go, you will then want to use a chalk line to mark the entire wall. This will ensure that all of your planks are installed in a straight line.
3- Apply adhesive
Now that your wall is prepared and you know where your planks will be going, it’s time to apply the adhesive. You will want to use a caulk gun to apply a bead of adhesive along the chalk line.
Make sure that you apply enough adhesive so that the planks will be able to adhere properly.
4- Install the planks
Once the adhesive is applied, you will then want to start installing your wall planks. You will want to start with the first plank that you marked on the wall.
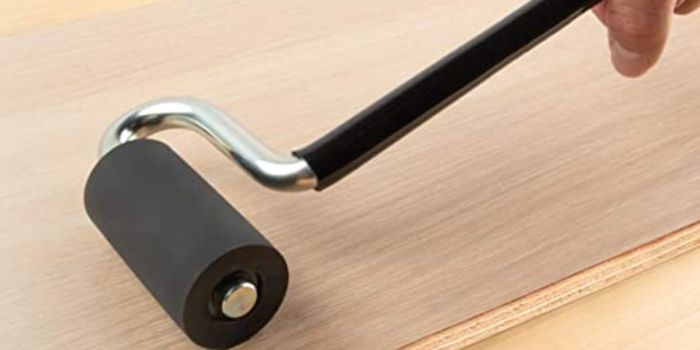
Press it firmly into place and use your J-roller to apply even pressure across the entire plank. Continue this process until all of your planks are installed.
5- Let the adhesive dry
After your planks are installed let the adhesive dry completely which usually takes around 24 hours.
Once the adhesive is dry, your wall planks will be securely in place and ready to enjoy.
What to Look for When Buying a J-Roller?
A laminate roller is a tool that is built to last. You’ll want one that feels sturdy in your hand and can apply even pressure without leaving any paint Roller Marks.
Generally, a good laminate roller should generate around 35 to 50 PSI to create a solid seal.
So, when looking for a J-roller, you will want to ensure that it is made of high-quality materials such as aluminum and rubber.
You should also ensure that the J-roller is comfortable to hold and features a soft grip when installing the wall planks or flooring.
Finally, you will want to make sure that the roller is wide enough to cover the width of your planks and veneers. This will ensure that the pressure is evenly distributed across the entire plank.
Usually, a 3-4″ wide roller will work fine for counters and veneers. And it should have a small diameter of around 1-1/2″ to provide maximum pressure.
As such, there are many different brands of J-rollers on the market, but you will rarely find a variation in size. What will vary is the quality of the materials that are used to make the roller for larger jobs.
Final Thoughts
A J-roller is a tool used to apply pressure when installing wall planks or laminate flooring. It is made of high-quality materials such as aluminum and rubber and features a soft grip for comfortable use.
If you are looking to DIY install wall planks or laminate flooring, get a J-roller to ensure that the pressure is evenly distributed across the entire plank.
Make sure you follow the instructions, and in no time, you’ll have a beautiful new wall or floor.

One of the best ways to clean your yard of twigs, leaves, and tree branches after a storm is to Read more
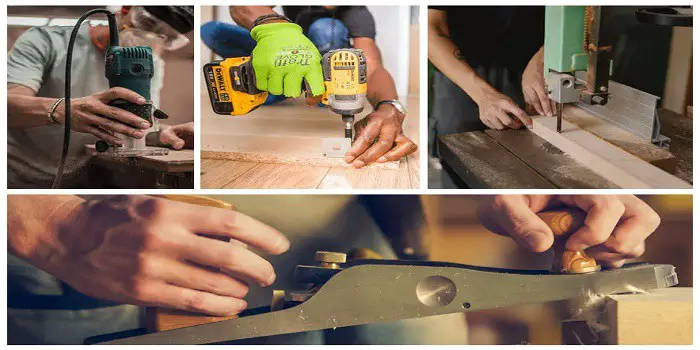
Whether you have been working with wood all your life or just getting started, having the proper tools is a Read more
It’s possible to only use hand or manual tools when woodworking, but then it becomes a slower process. For certain Read more
If you have never used this, steel wool is a collection of very thin steel wires bundled together in the Read more

Hi, I am Mark Garner a professional carpenter, woodworker, and DIY painter. I live in the small city of Peoria, Arizona as a semi-retired woodworker. I have started this blog with a simple motive to help you with my wood experience in this sector. If you like to know more about what I love doing and how it all got started, you can check more about me here.