Deglossing wood is an important step if you need to refinish or apply a new coat of paint to your old piece of furniture, cabinets, trims, etc.
But because sanding wood using a traditional abrasive sandpaper can be a long tedious process, you can use liquid formulas that are just as efficient at removing wood finishes, varnishes, glossy paint, or stains from a wood surface.
Much like any conventional sandpaper, liquid deglosser (also called liquid sandpaper) can strip off any old finish very easily and fast which increases the adhesion ability of the surface to accept a new coat.
If you haven’t used the product before, below, we’ll answer some common questions concerning liquid deglosser to get you familiar with the product and how to use it efficiently to get the desired results.
What is Liquid Sander Deglosser?
Many people wonder why they should switch to liquid sandpaper when traditional sandpaper serves them just fine.
Well, liquid sander deglosser is used to take off the glossiness of an earlier coat of paint while also sanding the surface lightly to allow the new paint to stick properly.
Unlike electric sanders and sandpapers, liquid sanders and deglossers take off the glossy surface but do not smooth out the surface or fix any flaws.
Deglosser can dull any finish on the wood beforehand, letting you apply a brighter, more vivid coat. Sandpaper can work similarly, but it doesn’t do the work of a deglosser. So, if you need to only degloss a surface, having liquid sandpaper is important.
Much like standard sandpaper, you can use it on finishes such as varnish, polyurethane, lacquer, enamel paint, wood stain, etc. on surfaces like wood moldings, walls, furniture, kitchen cabinets, bathroom racks, hardwood floors, door facings, workshop items and more.
How to Use Liquid Deglosser on Wood?
Before using any liquid sanders, you’ll need to pay attention to a few things, such as your budget, the size of the project, existing supplies you may have, the item’s vulnerability to chemicals, and the timeframe you have to work within.
Once you are ready, here is a step-by-step process for using a liquid sander on your cabinets, trims, or furniture.
Step 1. Protect the floor and surrounding areas
Since the deglosser is a chemical solution, you’ll need to take care to ensure you aren’t harming the floor or surrounding areas by using it.
You can protect the floor by laying down a solvent-resistant drop cloth to cover up any area below and around the cabinets and trim. Layer it with newspapers to add even more protection.
Step 2. Use the TSP substitute before the deglosser
Though some people will use the liquid sander right on the surface of the trim, it is not recommended.
Instead, you should use a TSP substitute before applying the liquid sander. This is because you’ll want the new finish to stick well to the surface to ensure a longer-lasting application.
The TSP added to it will fortify it and give a longer life to your trim. This is also recommended to get rid of any grease or oil from the surface before starting which will offer a better adhesive area for the finish or paint.
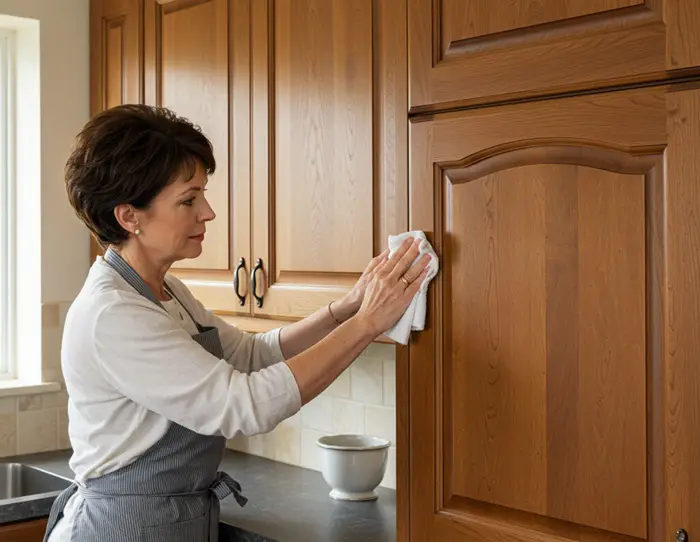
All you have to do is put a few drops of the TSP substitute on a clean rag and rub it onto the surface in a circular motion to ensure proper results. Be sure not to press down too hard while applying.
Step 3. Apply the liquid sander deglosser using a clean cloth
Because the deglosser contains chemicals, lint-free cloth is best to use as it doesn’t modify any fiber bonding or give anything a fluffy look. You may want to get more than one piece of cloth and keep it on hand depending on how large the project is that you are working on.
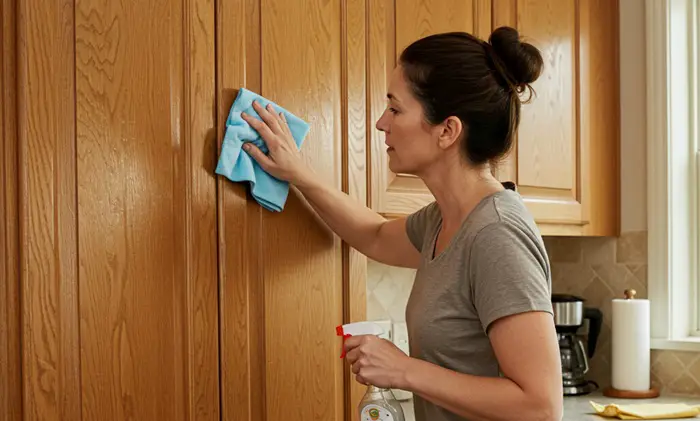
- Soak the cloth with the liquid sander and then wipe down the surface of the trim in circular motions.
- Continue to fold the dirty, exposed areas of the cloth to expose cleaner surfaces, or use a new cloth once it gets too dirty to continue.
- Clean the cabinets and trim thoroughly to make sure you’re getting rid of all of the sheen, dirt, or white haze.
If required, you can apply another coat of deglosser using a cloth or a two-inch paintbrush. Then wait for the coat to dry before continuing to the next step.
You may need to wait up to 30 minutes for it to dry, but check the directions on the bottle to check the specific needs of the formula you are using.
Complete the instructions on the bottle exactly as directed. This way it will provide excellent bonding power when you apply a new finish or paint over the surface without causing any trouble down the road.
Safety Tips and Precautions
- Because liquid sander can be a flammable chemical, take care not to use it in any indoor space where you risk exposing it to open flames.
- If you are using the deglosser in the kitchen to degloss varnished cabinets, make sure all gas burners, pilot lights, and electrical appliances are turned off.
- Properly ventilate the area by opening windows or using exhaust fans.
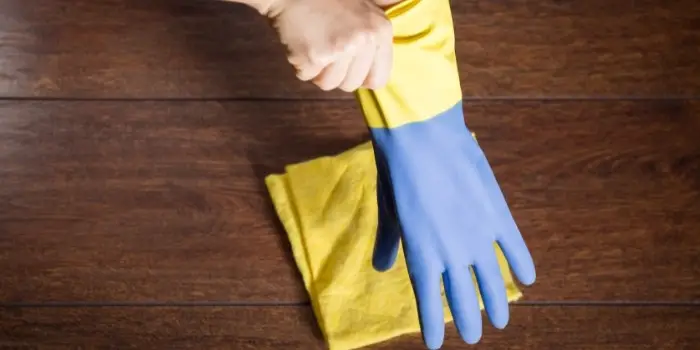
- Wear gloves and safety glasses when handling the deglosser to protect yourself during the process, especially if you are allergic.
- Before disposing of the cloth you have used with the solution, let the fabric dry completely because the residue vapors can pose risks.
Pros and Cons of Using Liquid Deglosser Solution
Even though wood deglosser works pretty well to prep the surface before painting, there are a few advantages and disadvantages you need to keep in mind before choosing this product. These include:
The PROS
a) Easy to apply – When compared to traditional sandpaper, liquid sandpaper is easier to use. All you have to do is pour a few drops onto a clean cloth and then apply it to the surface.
b) Less time consuming – Sanding traditionally takes a lot of time and effort, accomplishing in hours what liquid sandpaper can do in half the time with just a few wipes.
Electric sanders require less time to complete a project than traditional sanding, but it also involves correcting gumming up and clogging if they should occur. There is no such issue when using a liquid sander.
c) Gets into nooks and crannies – If you need to get into deeper recesses in wood, such as corners and detailing liquid sandpaper can take on this task and get the job done quickly. That’s the reason you can even use the product to degloss wicker furniture where traditional sandpaper does not work.
d) Safe to use and not messy – Compared to traditional sanding, liquid sandpaper is much safer to use as it generates less wood dust and debris.
Sanding typically makes a giant mess and prevents you from moving around freely while it’s being done. After you’re finished, you have to spend a lot of time cleaning up the debris after the fact.
Liquid sandpaper does not pose this issue, and any spillage can easily be handled. A lot of the time, they are non-flammable, water-based, and biodegradable, making them easy to work with and clean up.
The CONS
a) Pricey – Since these deglosser for wood come at a higher price, if you’re working on a smaller budget, it is usually more cost-effective to use traditional sandpaper.
b) Chemical solutions – If you are allergic to certain chemicals, you may not want to use liquid sandpaper. Some of them might also contain hazardous chemicals that can be dangerous for pets and babies.
What is the Best Liquid Sander Deglosser to Use on Wood Cabinets?
Though there are many kinds of liquid sanders out there, some brands are preferred over others. You will generally try to find liquid sandpaper that has less odor, better water solubility, is biodegradable, and is gentle on the skin.
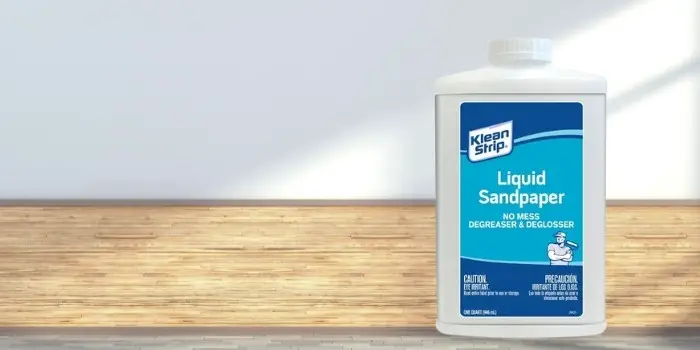
Klean-Strip Quart Easy Liquid Sander Deglosser is one of the most efficient types of liquid sandpaper available today. Its non-flammable, non-corrosive, low-odor, biodegradable, and water-based formula is one of the most popular alternatives to sandpaper due to its seamless application process.
When applied correctly and refinished with a fresh coat the flawless result will be a thicker, smoother application of your paint or finish that won’t show any thin or weak spots like it might if left unprepared.
It is especially useful with paint, wood stains, lacquer, enamel, polyurethane, and varnish on wood molding, kitchen cabinets, and door facings.
– PROS –
- The product serves as a deglosser and degreaser, saving you time in completing extra steps.
- Water-based formula is biodegradable and gentle on the skin and the environment.
- Non-corrosive formula won’t deteriorate the wood.
- The non-flammable formula won’t combust if it gets near a flame.
– CONS –
- May contain carcinogenic chemicals so if you are allergic use with safety.
Final Thoughts
Sandpaper is an abrasive material that, with a lot of time and elbow grease, can remove paints and finishes while smoothing out the wood itself. So, when you need to just degloss a surface and prepare it for a new coat of paint or finish, standard sandpaper isn’t always enough to get the job done.
Liquid sandpaper or a wood deglosser solution is the key to getting wooden surfaces refreshed and prepared efficiently. It works well on all types of finishes, including glossy, semi-gloss, and satin, saving time, minimizing effort, and ensuring a smooth, clean surface for better adhesion of paints or finishes—making it an ideal choice for both DIY enthusiasts and professionals alike.
Share the post "How to Degloss Wood Cabinets Using Liquid Deglosser?"

We are constantly finding new ways to update our home exteriors. If you are a bit tight on budget, renovating Read more

Cypress wood has been used for thousands of years in shipbuilding, so it is well-known for its water-resistance properties. Due Read more

We all know - Heat is the enemy of wood. When you place a hot item on a wooden surface Read more

If you are looking to upgrade your dining room but are on a budget, then painting your oak table and Read more

Hi, I am Mark Garner a professional carpenter, woodworker, and DIY painter. I live in the small city of Peoria, Arizona as a semi-retired woodworker. I have started this blog with a simple motive to help you with my wood experience in this sector. If you like to know more about what I love doing and how it all got started, you can check more about me here.