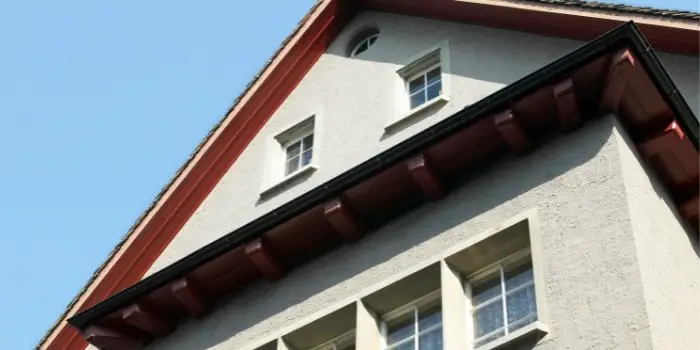
Stucco (also called render) is a popular construction material used for coating or creating designs on walls. It’s like a fine plaster prepared by mixing aggregates, a binder, and water in a specific ratio.
Attaching wood to the stuccoed wall is a common practice that is many times used for DIY projects. If you are planning something similar, there are various popular methods.
Here in this article, we will discuss some of the most effective techniques. But let’s first know why you may need to attach wood to a stucco wall, and what can be the real purpose behind it…
Attaching Wood to Stucco
Attaching wood to a stucco wall isn’t just about slapping some planks on a fancy concrete finish—it’s about making your space more functional, stylish, and structurally sound. Here are some common reasons why you might want to do it:
Because bare stucco is lonely – Give your wall some company with decorative wooden shutters, art pieces, or stylish trims. It deserves some love too.
You need a strong backbone – Mounting wood first gives you a solid base for heavy stuff like shelves, planters, or that antique mirror you swear won’t fall.
Pergolas don’t float – If you’re dreaming of a cozy, vine-covered outdoor space, you’ll need wood as an anchor to keep that pergola or trellis from defying gravity.
Holes in stucco is a bad idea – Drilling straight into stucco can lead to cracks and crumbles. Wood acts as a buffer so your wall doesn’t end up looking like a slice of Swiss cheese.
Fences and railings need a wingman – Whether it’s a privacy fence or a railing, wood provides a strong and stable base to keep things in place.
Because DIY projects never end – Today it’s a wooden shelf, and tomorrow it’s an outdoor bar. Who knows? Attaching wood to stucco is just the beginning of your home improvement adventures.
Methods to Attach Wood to Stucco Wall
The method you choose when attaching wood to a stucco wall depends on factors like the weight of the wood, the type of stucco, and whether the wall is backed by masonry or wood framing.
Whichever way you choose, be sure to go through the instructions and follow each step properly for the best results.
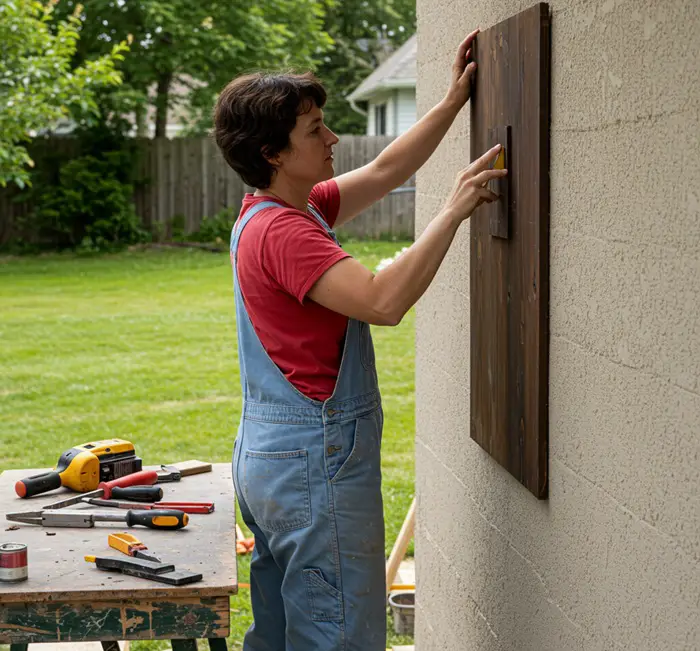
1- Adhesive
When using construction adhesive for attaching wood to stucco, the first step is to clean the stucco wall. This is to ensure that the wooden object will remain fastened properly to the wall.
To clean the wall, apply the cleaning solution with a scrub brush to the area of the wall where the object will be attached.
You’ll need to remove all the loose particles, such as dirt and dust followed by any mold, mildew, grease, and other substances that are sticking to the wall.
Once it all has been removed, wipe the area with a tack cloth and let it fully dry. You can use a fan to assist in the process if you want.
Clean the Wood:
Now you are ready to clean the wood that will attach to the stucco wall. You should focus on the side that the adhesive will apply. Start by using a dusting cloth to wipe down the object and remove any loose particles.
Next, apply a solution of isopropanol or acetone to a cloth and apply it to the surface. This should remove any stains, grit, or particles that have clung to the surface.
Then, use a tack cloth for a final wipe down of the surface area. Let the object fully dry before you take the next step.
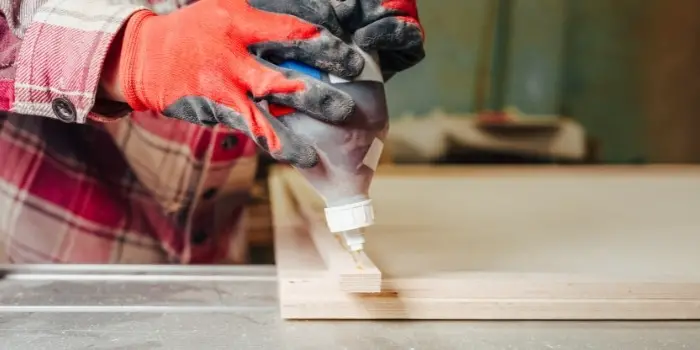
Apply the Adhesive:
When using a construction adhesive, you should fully read the instructions and go step-by-step when applying the product. This also means understanding how long the adhesive will take to fully cure. Armed with that information, you are now ready to apply the adhesive.
Apply a generous amount of adhesive to the area of the wall where the object will be located and wait for just a few seconds.
Next, apply the object to the adhesive on the wall and press firmly for the entire set time as indicated in the instructions. If the set time is quite long, you should find some assistance so you can switch.
Once the adhesive is set, then you are ready to let go. The object you have placed against the wall should look quite good if you have set it properly.
2- Stud
If you are choosing studs, they will need to be spaced at least 16 inches apart. You will need to mark the location of all the studs that you want to apply to the wall first.
Drill:
Once all the locations are marked and checked, you can now drill a hole using a wooden drill bit into the object that will be mounted.
Once that is completed, you should switch to a masonry bit and start drilling holes into the stucco wall at the locations where the studs will be located.
The holes you drill for the studs should be the same length as that of the screw which will be used. Start drilling the starter holes. This will allow you to find the stud and use that as your anchor point.
Attach a Nut Driver:
Add the nut driver to the drilling machine and align the hole in the wooden object with the one you did into the stucco wall.
Now, drive in the screw so that it goes through the hole in the wooden object, the stud, and the stucco wall. Repeat for every hole you have drilled in the wall and stud you have applied.
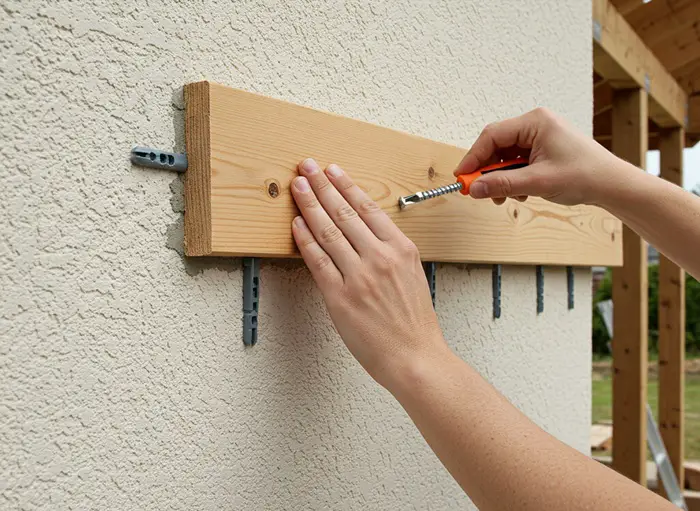
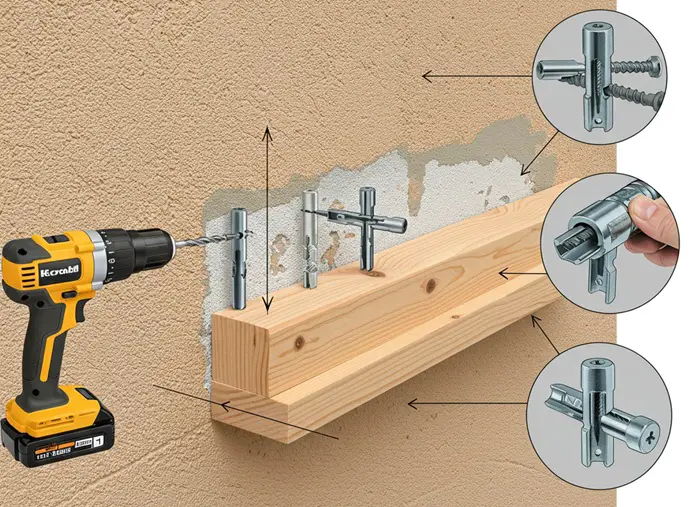
3- Wall Anchor
The first step is to mark the location where the wall anchor will attach. In most cases, the wall anchor will be held in place by a fastener.
Mark the location where you will place the fastener first. Using a tape measure will help if the location needs to be precise. Otherwise, use a pencil to mark where the fastener will be inserted.
Power Drill:
Next, you will need to make a hole for the fastener. Attach a wood bit to the power drill and drill the initial hole.
Then, press the pencil through the hole and create a wall anchor mark on the surface of the underlying wood. The heavier the wood that needs to be attached, the stronger the wall anchor will need to be.
Drill with Masonry Bit:
Attach a masonry bit to the power drill. Now, drill a hole through the stucco wall where you had marked the location of the wall anchor.
Once that is completed, you will need to place the screw or fastener through the hole in the wooden item. If you have not drilled a hole into your wooden item, yet, then you will need to do so.
Toggle Bit:
Align the hole in the wall with the hole in the wooden object. Now, place the toggle bolt into the hole.
Then, use a screwdriver to drive the screw through the hole and into the wall. Do this until the screw head appears flat against the wooden object. This will secure the object against the wall.
Next, step back several feet to see if the object is properly aligned or in the position that you want. This is quite common with bookshelves or wooden racks. You can use a level to ensure that the object you place is even.
Fixing Wooden Piece to Stucco – Which Method to Choose?
This will depend on your personal preferences, but generally speaking, if you are going to attach one item to the wall and you want it to side flat and permanent, then the adhesive is the way to go.
However, if you are thinking of removing the object at some point and replacing it with another, then creating an anchor point is generally better. A stud should be used if you are attaching multiple wooden objects, such as a series of shelves or the like.
| Factor | Adhesive (Glue It) | Wall Anchors (Keep It Flexible) | Stud Mounting (Heavy-Duty) |
|---|---|---|---|
| Best For | Lightweight items (trim, panels, small décor) | Moderate-weight items (small shelves, framed wood art) | Heavy-duty installations (shelves, pergolas, deck ledgers) |
| Pros | Quick, easy, no drilling | Strong, removable, good balance of flexibility & support | Maximum strength, long-term stability |
| Cons | Permanent; difficult to remove | Requires drilling; not for very heavy loads | Requires finding studs, more labor-intensive |
| Weight Limit | 0–5 lbs | 5–20 lbs | 20+ lbs |
| Stucco Compatibility | Works best with 3-coat stucco | Works on 3-coat stucco & shear walls | Best for any stucco type, but must attach to studs |
| Wall Type Compatibility | Only works on solid stucco areas | Works well on shear walls (plywood/OSB backing) | Required for open stud walls (no backing) |
| Installation Effort | Minimal | Moderate | High |
| Risk Factor | Hard to remove without damage | May weaken stucco over time | None (if done properly) |
Verdict:
- Go with Adhesive if you’re 100% sure you’ll never move it.
- Use Wall Anchors for moderate weight and future flexibility.
- Choose Stud Mounting if you want maximum strength and longevity.
Additional Tips When Performing Wood and Stucco Attachment
Alright, so you’ve successfully attached the wood to your stucco wall—nice work!
But before you kick back and admire your craftsmanship, let’s talk about keeping that setup secure and weatherproof.
Seal the Deal
Once the wood is up, it’s smart to seal around it—not just to keep water out but also to let any sneaky moisture that does get in find its way out. Think of it like a raincoat with ventilation; you want protection but not a sweaty mess trapped underneath.
I personally like to seal three sides: the top and both sides, while leaving the bottom open.
Why? Because gravity exists!
If water somehow gets in (and trust me, it will try), it needs an exit strategy. Otherwise, you’re setting up a cozy little spa retreat for mold and rot—trust me, they don’t pay rent, and they’re terrible houseguests.
Let It Breathe
Stucco and wood are like sponges at a pool party—they love absorbing water.
So, allowing air circulation behind the materials is key. You want a happy, dry setup, not a hidden science experiment growing between your wall and the wood.
Caulking: The Secret Weapon
If you’re planning to screw, nail, or use an anchor to attach the wood (and I assume you are, unless you’re a wizard who defies gravity), add a bit of caulking in the pilot holes before inserting the fasteners.
A good polyurethane or silicone caulk works wonders—it creates a waterproof barrier that’ll help keep things solid and dry.
Think of it like a handshake with a firm grip—you want a strong, sealed connection, not something weak and leaky.
With these extra steps, your wood-stucco combo should stand the test of time, the elements, and even the occasional confused bird that mistakes it for a perch. Happy DIY-ing!
Share the post "How to Attach Wood to a Stucco Wall? (Different Ways)"
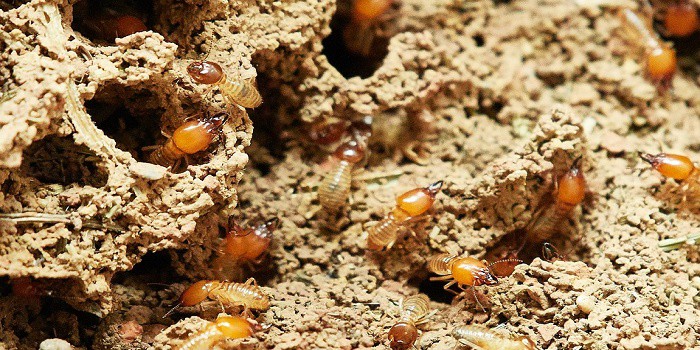
Termites are recognized as one of the most troublesome pests all over the world. They are small and numerous and Read more
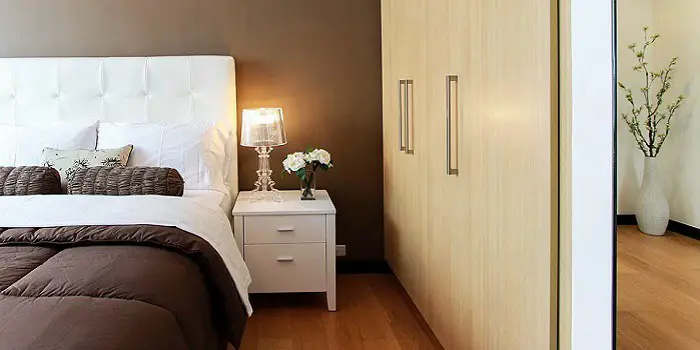
Our bedroom is a special place where we find relaxation and refresh after a hard day of toil - the Read more
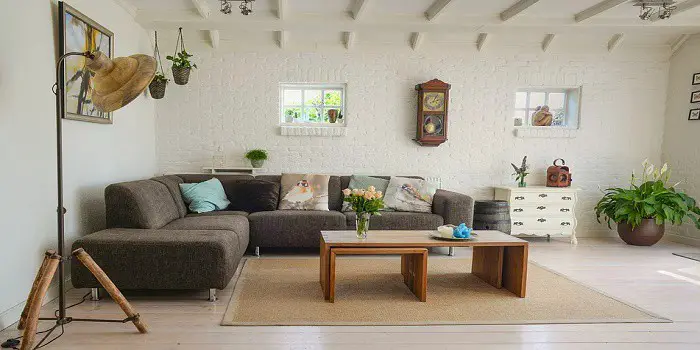
Let’s be honest: buying a sofa is a bit like dating. In the beginning, it’s all about the looks. You Read more
Wooden furniture, trims, doors, and windows are so long-lasting that you can easily repair and reuse them even after they Read more

Hi, I am Mark Garner a professional carpenter, woodworker, and DIY painter. I live in the small city of Peoria, Arizona as a semi-retired woodworker. I have started this blog with a simple motive to help you with my wood experience in this sector. If you like to know more about what I love doing and how it all got started, you can check more about me here.