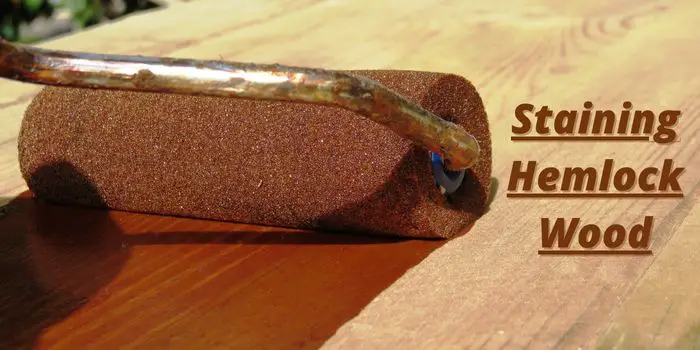
Hemlock is a softwood used primarily as construction lumber in homes and offices. It can be used for cabinets, furniture, and other woodworking projects.
Hemlock has a light color that ranges from pale yellow to pinkish-brown.
The reason why it’s a preferred wood for many is that it’s much stronger and harder than pine.
Also because when stained properly, it can closely resemble hardwoods like cherry and maple while displaying beautiful straight grains.
Hemlock does absorb stain well and is relatively easy to stain. But still, it has its own challenges that you need to take into account when choosing a stain.
In this blog post, I am going to guide you through the process of how to stain hemlock wood and choose the right stain for your hemlock project.
Staining Hemlock Wood
The key to success when staining hemlock wood furniture is to use the right stain and prepare the surface well before staining using the right materials.
So, let’s start with assembling the tools and materials.
Things you will need
- Fine-grit sandpaper
- Tack cloth or lint-free rag
- Wood conditioner
- Wood stain
- Gloves
- Paintbrush or applicator
- Old t-shirt or cheesecloth
- Clearcoat Varnish
The Steps and process
Step 1 – Prepare Your Workstation
First, you need to create a dust-free and well-ventilated workstation. You can do this by setting up a table in your garage or outside in your backyard.
If you’re working inside the house, make sure to open all the windows and doors to let the harmful fumes of stains and other finishes out.
Step 2 – Sand the Hemlock Surface
Once you have your workstation ready, it’s time to prep the hemlock wood surface by sanding it.
Start with medium-grit sandpaper (100-grit) and work your way up to fine-grit sandpaper (200).
This will be going to help to create a smooth surface for the stain to adhere to by clearing any rough knots, raised grain, and end grain.
Don’t forget to sand in the direction of the grain to avoid creating scratches on the wood.
Step 3 – Clean Your Hemlock Furniture
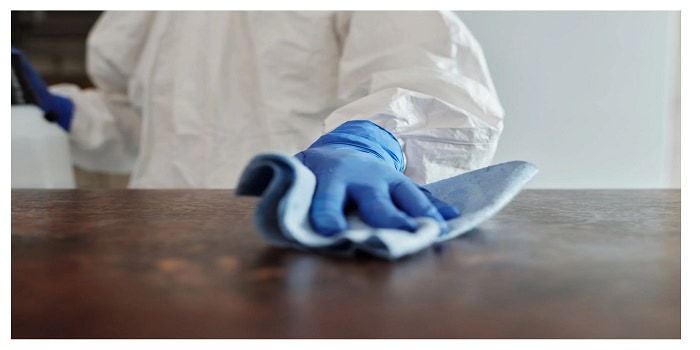
After sanding, use a tack cloth or lint-free rag to remove all the dust from the surface of your hemlock furniture.
You may use a dampened cloth in soap water if the tack cloth is not removing all the sanded dust or if there is stubborn grime that can’t be easily removed.
Make sure that you don’t leave any dust, grime, or soot behind, as this will create an uneven finish.
If, however, you are working on a new piece of lumber, you should skip all the cleaning and go straight to the next step.
Step 4 – Apply the Pre-stain Wood Sealer
One of the biggest problems with staining hemlock is that it tends to bleed through the finish. This is especially true with water-based stains.
To prevent this, you should use a stain-blocking pre-stain sealer before applying the finish coat. This will prevent the stain from bleeding through and ruining your project.
This step is also crucial if you want to achieve an even stain color. Wood conditioners help to open up the pores of the wood so that the stain can be absorbed evenly.
To apply the pre-stain conditioner, simply pour some into a paint tray and apply it to the surface of your hemlock furniture using a brush or applicator.
Make sure to work in the direction of the grain and to cover the entire surface evenly.
Once you’re done, let the conditioner dry for at least 30 minutes if you notice any raised grain sand them lightly using fine grit sandpaper and wipe the dust with a dry cloth.
Step 5 – Apply the Stain to the Hemlock Lumber
Now, it’s time to apply the stain to the hemlock.
Start by gently stirring the stain can/container to mix some of the stain pigment that had settled at the bottom – carefully stir it from the bottom to the top.
Do not shake the can vigorously, as this will create bubbles in the stain which will appear on your project.
Next, pour some wood stain into a paint tray, and apply it to the hemlock surface using a fine-bristled stain brush.
I would generally suggest staining the bottom side of your furniture first by flipping it over and working on the underside.
This will help to avoid any drips and runs.
Also, it’s easier to brush the stain on when the furniture is upside down.
Once you’re done staining the bottom, let it dry for at least 2 hours before flipping it over and staining the top.
TIP: You may also use a sprayer or a pump sprayer to apply the solution. Especially if it’s a large piece of furniture or a decking area outside.
Step 6 – Wipe off the Excess Stain and Let it Dry
Once the stain has had time to set in, it’s time to remove the excess.
You can do this by wiping the surface with a clean rag or a lint-free cloth. While doing so, remember to work in the direction of the grain to avoid any streaks or scratches.
Once you’re done wiping off the extra stain, let the hemlock dry for at least 12 hours before applying the topcoat.
Step 7 – Apply the Topcoat
Once the stain has dried completely, it’s time to apply the topcoat.
The type of top coat you use will depend on the look you’re going for and the level of protection you need.
For example, if you’re looking for a natural finish on the hemlock lumber, you can use a clear sealer, polyurethane, or lacquer.
If you want to add some color to the wood or want more protection, you can use a pigmented topcoat like paint or a solid stain.
To apply the topcoat, simply pour some into a paint tray and apply it to the surface using a brush or applicator.
Make sure to work in the direction of the grain and to cover the entire surface evenly.
Once you’re done, let the top coat dry for at least 12 hours before using the hemlock furniture.
What Type of Stain Works Best to Finish Hemlock?
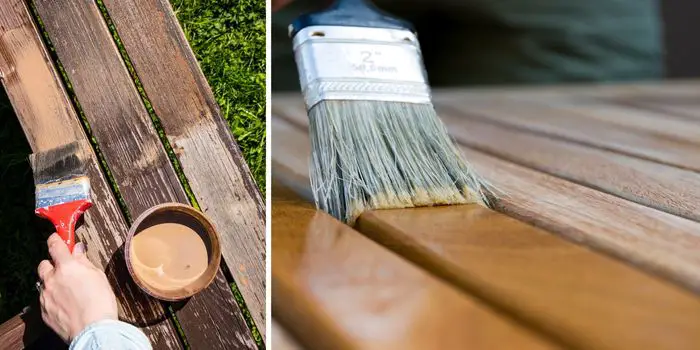
When finishing hemlock, you have a few different options for stains and colors.
Oil stains, water-based stains, or dye stains are all good to use on hemlock and can be chosen depending on the project you are working on and where it’s exactly located.
Water-based stains will penetrate the wood better and offer more consistent results, while oil-based stains will provide more protection against wear and tear.
Dye stains will give you the most saturated color, but they can be difficult to work with for beginners.
No matter what type you pick, always use an interior stain for interior pieces and an exterior stain for outside surfaces.
TIP: If you’re working on a project that will be placed outdoors, you may want to consider using a water-resistant finish.
Regarding the colors, you should typically look for a stain that’s designed for light-colored softwoods.
Particularly, if you desire to retain the light colors of the rough-cut hemlock lumber, it’s good to choose a transparent stain or semi-transparent stain from brands like Minwax.
You can alternatively use a drying oil like Linseed or Tung oil.
For staining the hemlock in darker colors, you can choose a Minwax dark-colored stain like Classic Gray or Golden Oak, or you can make a stain with a dark shade using walnuts at home.
Is Hemlock Wood Expensive, and is it Good for Outdoor Furniture
Hemlock is popular general construction lumber that is also used in siding, paneling, pallets, crates, furniture-making, etc.
Not only is the wood soft, light in color, and easy to work with both hand and electric tools, but it’s also a lower-cost substitute for reclaimed lumber and barn boards.
On average, hemlock lumber costs between $2 and $5 per board foot at most hardware stores.
Thanks to its ability to hold stains, paints, and other finishes well, it can be used both indoors and outdoors.
The thing you need to note is that this non-expensive wood is rated as non-durable. This means if not sealed or finished well, it is susceptible to insect attack and decay.
When buying hemlock lumber for your furniture or for any other woodworking project, do keep in mind that it is available in varieties, including Western hemlock and Eastern hemlock.
While western hemlock features a fine texture along with straight uniform grains, Eastern hemlock (also called Canadian hemlock or hemlock spruce) is much like a coarser version of white pine with straight, interlocked, or spiraled grain patterns.
FAQs
How hard is hemlock?
Hemlock wood has a Janka hardness rating of 540 lbf (2,402 N). Since this is relatively higher than many softwoods and some hardwoods, it’s harder than some may actually think.
Is hemlock wood toxic?
Western hemlock and Eastern hemlock lumber are both reported to be toxic and can cause problems like skin irritation and respiratory issues while working. It’s important to be cautious.
Poison-hemlock, in particular, is also an acutely flowering plant that is toxic to people and animals if touched or ingested.
Does hemlock wood shrink?
While not the most durable wood, hemlock is somewhat resistant to shrinkage.
But compared to other quality timber, shrinkage of western hemlock is still moderately high. When the wood is first cut and installed, it can shrink up to 8%.
Final Thoughts
Overall, hemlock is a low-cost, beautiful light-colored wood that can be used in a variety of indoor and outdoor projects.
Because it’s relatively inexpensive and easy to work with, hemlock is a great choice for beginning woodworkers or anyone working on a budget.
Just be sure to finish or seal the wood well to protect it from insects, weathering, and other damage.
Share the post "Finishing Hemlock – What Type of Stain is Best to Use?"

Hi, I am Mark Garner a professional carpenter, woodworker, and DIY painter. I live in the small city of Peoria, Arizona as a semi-retired woodworker. I have started this blog with a simple motive to help you with my wood experience in this sector. If you like to know more about what I love doing and how it all got started, you can check more about me here.

