The basic purpose of joint compound (also called drywall mud) is to fill the gaps, holes, and joints between installed drywall panels.
This helps in creating smooth flat surfaces before they can be primed and painted over.
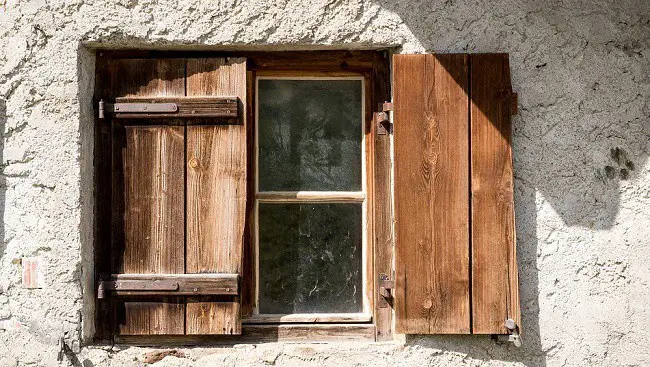
If you are wondering whether you can use drywall joint compound on wood, you will be glad to know that – yes, you can.
Drywall mud or joint compound is one of the best options to fill small as well as large gaps in trim joints, wooden baseboards, moldings, panelings, and sidings.
Because it’s a type of bonding agent that can adhere very well to nearly any porous surface, it can be used as a great wood filler.
If you want, you can also use drywall mud to skim-coat plywood panels that are many times used as a wall or flooring for homes and commercial spaces.
How to Apply Joint Compound to Wood?
If the proper wood filler is not available for patching up the dents, scratches, or holes in the wood, drywall mud is a good substitute which is much easier to use.
You can quickly mix up a batch and apply it on wood, no matter if it’s finished or unfinished.
But keep in mind, if you are applying this non-shrinking spackling compound on stained wood trim, it’s good to paint or stain over the surface.
Because the compound will most likely dry to a white finish that does not match the color or tone of your already stained wood trim.
Step 1 – Mix
In a small bucket, mix the joint compound with some water.
Stir the water and drywall mud compound well until you get a thick paste consistency.
For mixing, it’s recommended to follow the instructions specified on the package of the compound and make sure you do not add too much water to it.
Step 2 – Apply
Apply the prepared compound using a putty knife wider than the holes you want to fill.
Work carefully to fill all the holes or dents on your window trims, wood baseboards, and moldings.
After you have leveled the surface, remove any excess mud (while it’s still wet) with a clean damp cloth and allow the drywall mud to dry overnight.
Step 3 – Sand and Finish
In the morning, when the compound has dried, sand the wooden door and window trim surface with 240-grit fine sandpaper.
Remember to sand the surface in the direction of the grain to avoid getting any visible scratch marks.
For larger areas, you can use a sandpaper block. It will help you work faster and easier over the repaired surface.
After you have sanded the surface evenly, check the surface for smoothness by running your hand over the surface.
If you notice further scratches or dents, apply a bit of compound and lightly sand the surface again.
Once it’s done, you can stain or paint over the repaired trim areas to get the right finish that matches the surrounding.
Dry Or Pre-Mixed Mud: What’s Better?
Drywall mud typically comes in two options, i.e., dry and premixed.
Other types and variations include lightweight all-purpose mud, quick-setting mud, hot mud, taping mud, and topping mud.
But as a DIY homeowner, you will find the pre-mixed compound (sold in buckets) the most convenient option to use on wood.
This wet mud is also ideal for your project as it allows you to work faster and will help you achieve a smoother finish over wood that will be easier to paint, stain or varnish.
The only downside of the premixed mud compound is its more expensive than others.
For the application process, you can simply apply the prepared mud by hand with a trowel or a putty knife.
If you are coating plywood walls or floors with the compound, you can use a paint roller which will be much easier to work with.
Can You Create Texture on Wood with Mud?
One good thing I like about drywall mud is it allows you to create infinite designs on the surface you are using it.
Not only for trims, but it’s especially useful if you want to get some kind of textures or designs on your wooden walls or baseboards made of plywood or oriented strand board (OSB).
Once you have repaired and coated the surface with the compound, sand off the surface lightly and add your preferred texture with an additional coat of mud.
For creating a stippled effect or swirled patterns on the wet mud, use the tools such as a slap brush or a putty knife.
With a bit of skill and patience, you can even create a “knockdown” texture effect on wood using a trowel.
A few tips you need to follow for successfully applying joint compound on wood include:
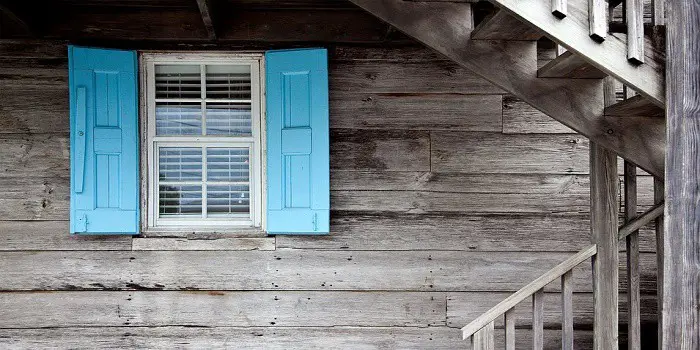
Do not use the mud outdoors
Drywall mud and premixed joint compounds are not intended for outdoor use.
So, if you plan to skim-coat your wooden garden shed, furniture or deck, it’s not recommended.
Also, do not use the compound on wood surfaces exposed to moisture or water (like your plywood bathtub surround or kitchen cabinets).
In high humidity, wood can move, and cracks can be created between the joints as the compound dries.
Apply the mud only to the rough-grain wood surface
Mud will not stick well to the painted surface, especially if it’s glossy paint or varnish. Consider sanding the surface if you plan to apply the mud to any such surface.
Moreover, you should practice your design technique beforehand, preferably on a scrap of plywood.
This will avoid creating any messes over your large areas.
Final Thought
Not only for plaster and drywall, but a high-quality, lightweight, non-shrinking joint compound is a perfect option for filling gaps and holes in wood and even plastic trim.
Based on the surface and the size of the gap or hole, you can use between dry powder-based compound or a premixed substance.
Make sure you mix the compound well and apply it patiently using the right tools to get the finishing that lasts for a long.
Share the post "How to Use Joint Compound On Wood Trim & Moldings?"

We are constantly finding new ways to update our home exteriors. If you are a bit tight on budget, renovating Read more

Cypress wood has been used for thousands of years in shipbuilding, so it is well-known for its water-resistance properties. Due Read more

We all know - Heat is the enemy of wood. When you place a hot item on a wooden surface Read more

If you are looking to upgrade your dining room but are on a budget, then painting your oak table and Read more

Hi, I am Mark Garner a professional carpenter, woodworker, and DIY painter. I live in the small city of Peoria, Arizona as a semi-retired woodworker. I have started this blog with a simple motive to help you with my wood experience in this sector. If you like to know more about what I love doing and how it all got started, you can check more about me here.