You commonly see watercolors used by children in pre-school and kindergarten to express their creative side. These are also used by those who are young at heart when taking up painting.
Watercolors in general are easy to use and are natural for those who are just starting out in the painting field. While paper or canvas is the natural format for painting with watercolors in crafts, they can be used on different types of surfaces at home.
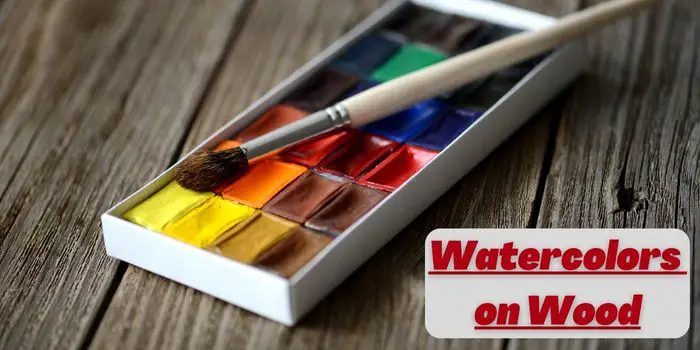
Watercolors on wood? Absolutely! But before you dive in, let’s get some more information…
Can Watercolors Be Used on Wood?
Watercolors can be used on various surfaces, including wood. In fact, wood offers a distinctive alternative to traditional canvas or paper while water coloring for beginners. However, it is not ideal for painting furniture or cabinets, as the absorbency can lead to uneven color and a fuzzy texture.
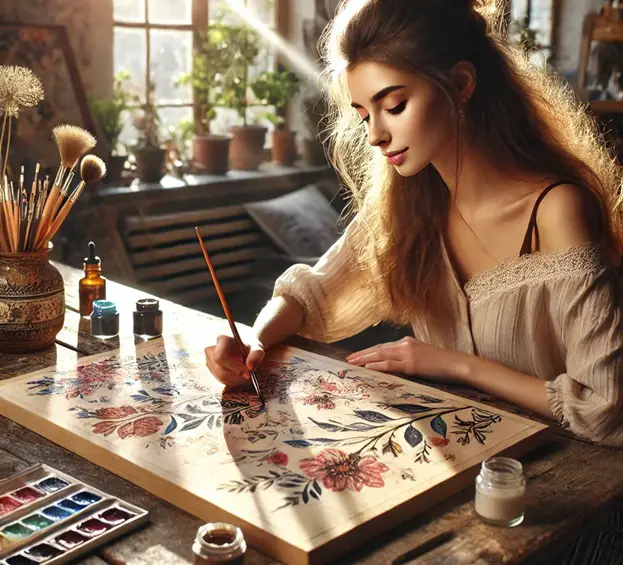
If you want to use watercolors for decorating small wooden items like ornaments, craft pieces, or decorative plaques, you can definitely go ahead. The unique texture and grain of wood can add a beautiful effect to your artwork, making it stand out from traditional paper or canvas paintings.
However, painting large wooden surfaces like cabinets, panels, or furniture with watercolors is not practical. The absorbent nature of wood can cause uneven color distribution, blotchiness, and a fuzzy texture, leading to an unpredictable and less durable finish.
Additionally keep in mind that, not all wood surfaces are suitable for watercolor painting straight away. Proper preparation is essential to achieve the best results, ensuring the paint adheres well and maintains its vibrancy.
Preparing and Painting Wood with Watercolors
Watercolors can create stunning artwork on wood, but the process requires proper preparation to achieve the best results. Here are the right steps that ensure a smoother painting experience and a long-lasting finish.
Step 1: Clean the Wood
Give it a once-over for any mold (because nobody wants unexpected textures). If you spot any, clean it up or, if it’s beyond saving, let it go. Wipe away dust and debris with a cloth, and if the wood has been through a damp spell, let it dry completely before moving forward.
Step 2: Sand the Surface
Unless you’ve got a fancy pre-prepped panel, grab some fine-grit sandpaper (think 360-600 grit). The goal? A smooth yet slightly textured surface that’s just right for watercolors to cling to. If you’re sanding indoors, don’t forget to wear a mask unless you enjoy sneezing out sawdust.
Step 3: Remove Dust and Debris
A quick puff of air might work for the light stuff, but if things are looking extra messy, a vacuum or compressed air is your best bet. Give it a final wipe-down with a dry or barely damp cloth—because nobody wants dust interfering with a flawless paint job.
Step 4: Apply a Primer
Wood is thirsty, and without a primer, your watercolors might vanish like a mirage. Gesso is an option, but be careful—it can hide the natural wood grain. A better choice? Watercolor ground. It keeps the texture visible and even comes in gorgeous shades like iridescent gold, adding an extra touch of elegance. Let the primer dry completely before moving on.
Step 5: Start Painting
Play with washes, layering, or dry brushing to create stunning depth and texture. Experiment, mix colors, and bring your vision to life. Just remember, watercolors can be a little sneaky on wood, sometimes soaking in more than expected, so test your colors before fully committing.
How to Seal Watercolor Paint on Wood Furniture?
Since watercolors are naturally delicate and prone to smudging, moisture, or fading, applying a protective varnish is essential for longevity.
Krylon varnish creates a protective barrier that helps preserve your watercolor artwork design on wood while maintaining its vibrancy.
One of its key benefits is that it offers strong protection while drying quickly—usually within 15 minutes under normal conditions. Also, it does not yellow over time, ensuring your artwork retains its original colors.
For best results, apply thin, even coats and allow each layer to dry thoroughly before adding another.
- To start, ensure that your watercolor painting is completely dry before applying the varnish.
- Working in a well-ventilated area, hold the Krylon spray can about 10–12 inches away from the surface and apply a light, even coat in sweeping motions.
- Avoid spraying too heavily, as this can cause drips or disturb the watercolor pigments.
- Once the first coat is dry, typically within 15 minutes, apply additional thin layers as needed to build up protection.
- Allow each layer to dry thoroughly before adding another. Depending on the level of durability required, two to three coats should be sufficient.
The Conclusion
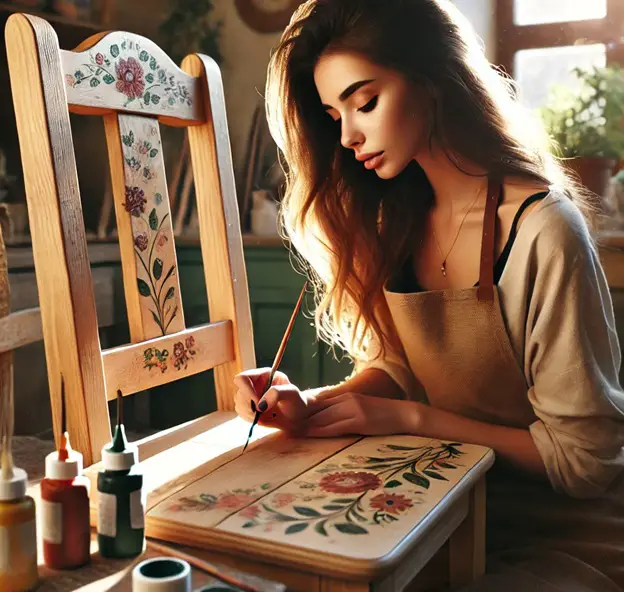
Since watercolor can bleed and spread unpredictably, making it a challenging medium for beginners, paints specifically designed for wood or furniture are recommended if you desire a smoother, more durable finish.
That said, if you’re a beginner and want to experiment, you can still use watercolors to add artistic details to certain parts of your furniture. For example, you could create small floral patterns, abstract designs, or delicate accents on tabletops, drawer fronts, or wooden frames.
To protect your artwork, you may need to seal it with a clear varnish or fixative to prevent smudging and fading over time. This way, you can enjoy the creative process while ensuring your designs last longer.
Share the post "Watercoloring Wood Furniture – Tips for Beginners"

We are constantly finding new ways to update our home exteriors. If you are a bit tight on budget, renovating Read more

Cypress wood has been used for thousands of years in shipbuilding, so it is well-known for its water-resistance properties. Due Read more

We all know - Heat is the enemy of wood. When you place a hot item on a wooden surface Read more

If you are looking to upgrade your dining room but are on a budget, then painting your oak table and Read more

Hi, I am Mark Garner a professional carpenter, woodworker, and DIY painter. I live in the small city of Peoria, Arizona as a semi-retired woodworker. I have started this blog with a simple motive to help you with my wood experience in this sector. If you like to know more about what I love doing and how it all got started, you can check more about me here.