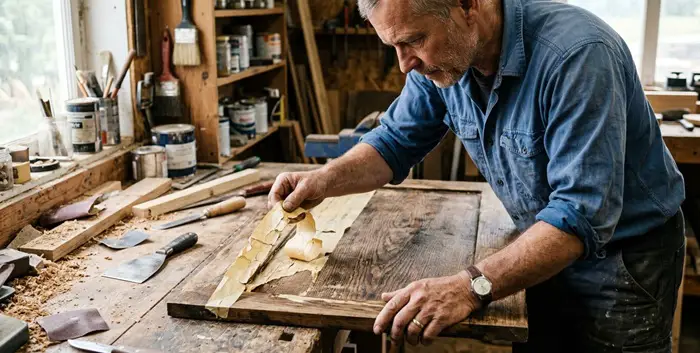
Masking tape is one of those small tools that quietly make big projects possible.
Whether you’re painting trim, refinishing a wood table, or protecting delicate edges, masking tape helps create those satisfying, crisp lines that make a DIY job look professional.
But here’s the catch: the real test of good masking isn’t how well the tape sticks — it’s how cleanly it comes off later.
If you’ve ever tried to peel away old tape only to find sticky residue, torn paper fibers, or worse, chipped paint and damaged surfaces, you’re not alone.
Over time, adhesive bonds can strengthen, especially on porous materials like wood furniture or painted trim. Environmental factors like humidity, heat, and curing time can make the situation even trickier.
7 Mistakes to Avoid when Removing Old Masking Tape from Wood
The good news is that most tape-removal disasters happen because of a few common mistakes. Avoid them, and the process becomes surprisingly easy.
Below are seven mistakes professionals see all the time — and how you can avoid them when dealing with painted trim, a wooden door, or even kitchen wood cabinets.
1. Leaving the Tape on for Too Long
One of the most common mistakes is simply forgetting about the tape. Painter’s tape isn’t meant to stay on surfaces indefinitely.
Most quality painter’s tapes are engineered with acrylic-based adhesives designed to remain stable for around 7–14 days.
However, the longer the tape stays on wood, the more the adhesive oxidizes and bonds with the surface.
This process is accelerated by temperature changes and UV exposure. As the adhesive polymer chains break down and harden, they grip the emulsion paint or wood fibers much more aggressively.
That’s why professionals recommend removing painter’s tape while the paint is still slightly soft — usually within 24 hours.
Waiting too long increases the risk of peeling paint, adhesive residue, or paper tearing into tiny pieces that become a nightmare to remove.
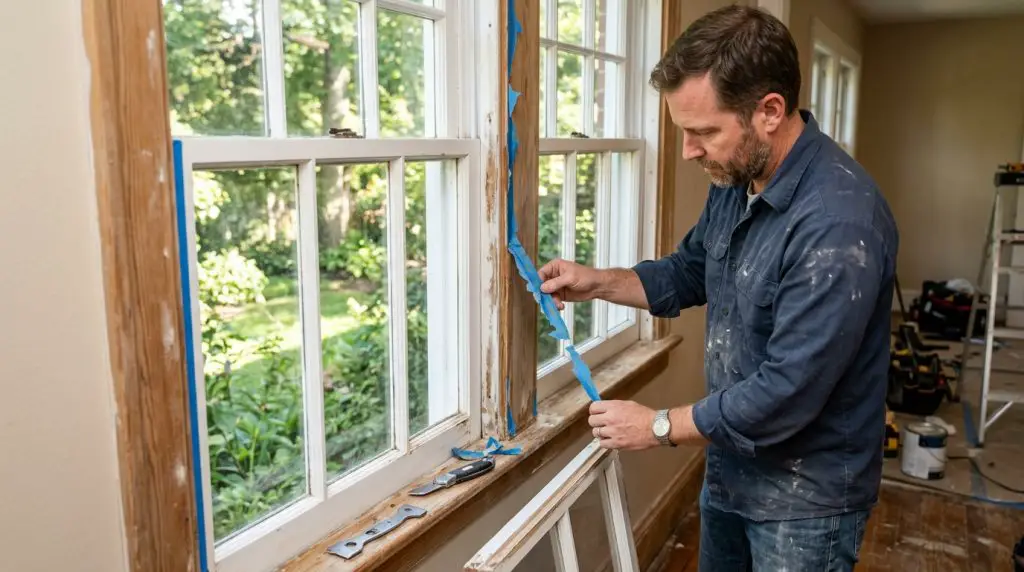
2. Pulling the Tape Off Too Fast
It’s tempting to rip tape off quickly like a bandage, but that’s a terrible idea for painted wood surfaces.
When tape is pulled quickly, the force applied to the adhesive edge can exceed the bond strength of the paint film.
This is especially problematic with latex paints, which remain slightly elastic even after drying. Instead of separating cleanly, the paint may stretch and tear along the tape edge.
Professionals recommend pulling the tape slowly at about a 45-degree angle. This reduces the mechanical stress placed on the paint layer and helps the adhesive release gradually.
The slower approach may feel tedious, but it dramatically reduces the chances of lifting paint from trim, moldings, or delicate surfaces.
3. Removing Tape Before the Paint Has Properly Set
Timing is everything when working with paint and tape.
While paint may feel dry to the touch within a few hours, the curing process continues long after that.
Latex paints form a flexible polymer film as water evaporates and binder particles fuse together. Oil-based paints cure through oxidation, which can take even longer.
If you apply painter’s tape onto paint that hasn’t reached a stable dry stage, the adhesive can embed itself into the still-soft coating. When you pull it off, the paint layer may lift or wrinkle.
A good rule of thumb is to wait 3–4 hours until the paint is dry to the touch before applying painter’s tape over freshly painted sections. Temperature and humidity also matter — cooler or humid environments slow down drying.
Understanding this simple timing rule can save you from a lot of repair work later.
4. Using the Wrong Type of Tape
Not all tapes are created equal — and this is where many DIYers get into trouble.
Painter’s tape is made from textured crepe paper that allows paint to bond to its surface without bleeding through the edges.
The adhesive is also formulated to release cleanly without damaging surfaces.
Other tapes, such as duct tape, packing tape, or electrical tape, are designed for entirely different purposes. Their adhesives are much stronger and can bond aggressively to painted wood.
Using those tapes on a painted surface can result in adhesive residue, paint lifting, or discoloration. They also lack the micro-crepe structure that painter’s tape uses to conform to surface irregularities.
So yes, you can paint over painter’s tape safely. But using the wrong tape type can quickly ruin an otherwise perfect paint job.
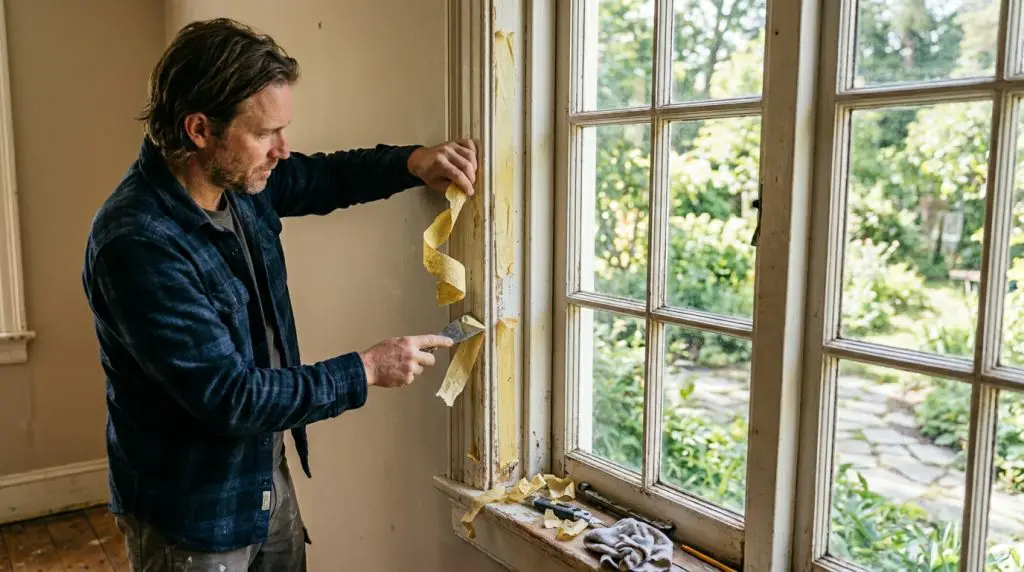
5. Trying to Remove Old Tape Without Softening the Adhesive
If tape has been left on a surface for weeks or months, the adhesive has likely hardened.
In these situations, peeling it off dry almost guarantees problems. Instead, the goal should be to soften the adhesive layer before removal.
Heat is one of the most effective ways to do this. A household hair dryer works surprisingly well. Warm air gently softens the adhesive polymers, making them more flexible and easier to release.
Hold the dryer about 6–8 inches away and warm the tape for about 20–30 seconds. Once the adhesive softens, slowly peel the tape back.
This simple trick is widely used in automotive detailing and woodworking shops because it dramatically reduces the risk of surface damage.
6. Scraping the Tape with Sharp Tools
When tape tears into small pieces, many people instinctively grab a knife or razor blade. That’s risky on wood surfaces.
Sharp tools can easily scratch finishes, gouge paint layers, or damage the protective clear coats often used on furniture and cabinetry. Even minor scratches can expose bare wood and require refinishing.
Instead, use plastic tools like a plastic putty knife or an old credit card. These tools are rigid enough to lift tape edges but soft enough to avoid damaging the finish.
If adhesive residue remains, a small amount of mineral spirits, rubbing alcohol, or citrus-based adhesive remover applied to a cloth can safely dissolve it without harming most finishes.
Using gentle methods preserves the surface integrity while still getting the job done.
7. Ignoring the Paint Edge Before Peeling
One subtle but important mistake involves the paint edge itself.
When paint dries along the edge of masking tape, it forms a thin film that bridges between the painted surface and the tape. If you pull the tape without breaking this film, the dried paint may tear unevenly.
This is why professional painters often score the paint edge lightly with a utility knife before removing tape that has been on longer than recommended.
The blade cuts the paint film where it meets the tape, allowing the tape to separate cleanly without lifting the paint layer.
This step is especially useful for thicker coatings, such as enamel paints, or for multiple-coat systems.
If you’re trying to remove masking tape without removing paint, this small technique can make a huge difference.
How Can You Remove Sticky Tape Residue from Painted Wood?
Even after the tape is gone, the adhesive it leaves behind can be surprisingly stubborn.
Sticky residue happens because tape adhesives are usually made from rubber-based or acrylic compounds designed to grip surfaces tightly.
Over time, these adhesives can partially cure and spread into a thin, tacky layer on the paint.
The key is removing it without softening or damaging the paint film underneath.
Start with the least aggressive method first. Painted surfaces — especially latex paints — can soften or dull if exposed to harsh solvents, so gentle approaches are usually safest.
One simple technique is to use warm, slightly soapy water with a microfiber cloth. Lightly dampen the cloth and gently rub the residue in circular motions.
The mild detergent helps break the adhesive’s surface tension, making it easier to lift away.
If the residue remains, try these safe options:
- Rubbing alcohol (isopropyl alcohol): Apply a small amount to a soft cloth and dab the sticky area. Alcohol evaporates quickly and dissolves many adhesive compounds without leaving residue.
- Cooking oil or mineral oil: Oils break down rubber adhesives effectively. Apply a drop, let it sit for a minute, and wipe away the softened residue.
- Commercial adhesive removers: Citrus-based products are commonly used by painters because they dissolve adhesives while remaining relatively gentle on paint.
- Microfiber polishing: Sometimes the adhesive layer is thin enough that gentle buffing with a dry microfiber cloth removes it.
A few precautions are important when working on painted surfaces:
- Always test on a hidden area first.
- Avoid excessive moisture, which can seep into wood joints or seams.
- Don’t use abrasive scrub pads or metal tools.
Once the adhesive is removed, wipe the area with a clean, damp cloth and dry it immediately.
This prevents any remaining cleaner or oil from affecting the paint finish. With a careful approach, even stubborn tape residue can be removed without leaving visible marks.
How to Remove Old Masking Tape from Stained Woodwork Without Damage?
Stained wood surfaces require extra care because they often have a protective clear finish — such as polyurethane, lacquer, or varnish — that can be scratched or dulled if handled roughly.
Unlike painted surfaces, stained woodwork reveals the grain beneath the finish, meaning any damage is much more noticeable.
When dealing with old masking tape on stained trim or molding, patience matters more than force. The goal is to loosen the tape and its adhesive bond gradually rather than pulling it away abruptly.
Start by lifting a corner of the tape gently with a plastic scraper or fingernail. If the tape resists or tears easily, warming it slightly helps relax the adhesive.
A hair dryer set to low heat works well for this purpose. Warm the tape for 20–30 seconds and then try peeling it slowly along the wood grain.
Several techniques help make the process safer:
- Peel along the grain: Pulling in the direction of the wood grain reduces the chance of lifting the finish.
- Use plastic tools instead of metal: A plastic putty knife prevents scratching the clear coat.
- Work in small sections: Removing tape a few inches at a time gives you better control.
- Apply light pressure only: If the tape tears, soften the remaining piece before continuing.
If adhesive remains after the tape is removed, the cleaning approach must also be gentle. Stained wood finishes can react poorly to strong solvents.
Safer options include:
- A small amount of mineral spirits on a soft cloth
- Furniture polish or wood-safe cleaner
- Light buffing with a microfiber cloth
Avoid soaking the area or scrubbing aggressively. Excess liquid can seep into joints or under the finish and cause discoloration.
Finally, after the residue is gone, wipe the area clean and lightly buff it. This restores the sheen of the finish and ensures the woodwork looks uniform again.
With careful handling and gradual removal, even old masking tape can come off stained wood without harming the finish.
Final Thoughts
Masking tape is one of the simplest tools in painting woodwork, yet removing it incorrectly can undo hours of careful work.
Most tape-removal problems stem from just a handful of preventable mistakes — leaving tape on too long, pulling it too quickly, or using the wrong tape altogether.
Understanding how paint cures and how adhesives behave over time gives you a major advantage. With the right timing, gentle removal techniques, and a bit of patience, you can avoid chipped edges, sticky residue, and surface damage.
Whether you’re working on trim, cabinetry, or painted wood surfaces around the home, these small adjustments can make your results look cleaner and more professional.
Share the post "Removing Old Masking Tape from Wood (7 Mistakes to Avoid)"
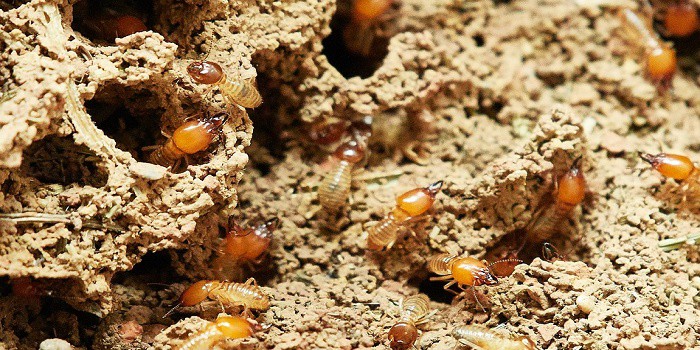
Termites are recognized as one of the most troublesome pests all over the world. They are small and numerous and Read more
Our bedroom is a special place where we find relaxation and refresh after a hard day of toil - the Read more
Let’s be honest: buying a sofa is a bit like dating. In the beginning, it’s all about the looks. You Read more
Wooden furniture, trims, doors, and windows are so long-lasting that you can easily repair and reuse them even after they Read more

Hi, I am Mark Garner a professional carpenter, woodworker, and DIY painter. I live in the small city of Peoria, Arizona as a semi-retired woodworker. I have started this blog with a simple motive to help you with my wood experience in this sector. If you like to know more about what I love doing and how it all got started, you can check more about me here.