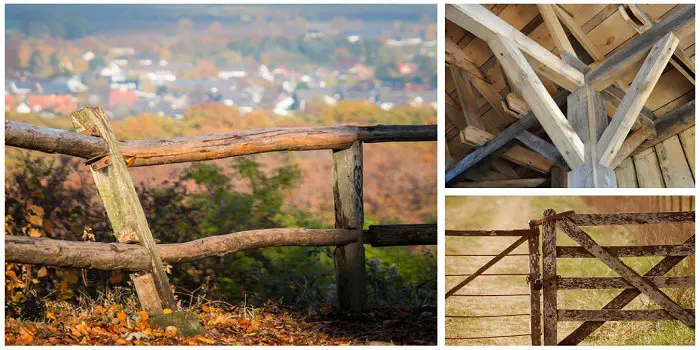
When it comes to creating an attractive backyard garden, wooden fence posts and poles can play a big role.
Unlike concrete, timber posts look more stylish and warmer. Plus, if you have a large property, wooden fence posts can easily be used to complement additional features like decking and trees in your garden.
The only downside of affixing wooden posts is it’s prone to splitting and rotting due to the continuous exposure to moisture from the ground soil along with other external elements.
To keep your wooden fence posts and panels protected from various environmental damages, you will need to make sure that the wood you use is sturdy enough and properly treated from time to time.
What Makes Wood Posts Rot Faster?
If your wood posts are rotting fast, there could be different reasons for this.
a) Galvanic Rot
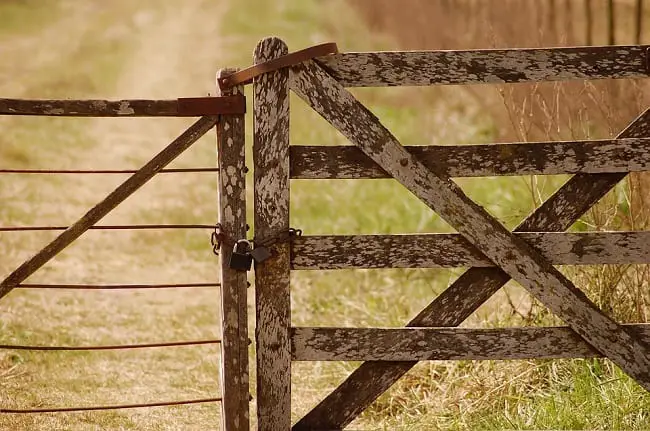
The first one is due to what is called galvanic rot. This usually happens due to the galvanized nails or screws that are driven into the wood posts.
The continuous moisture seeping through the exposed wood reacts with the nails, which results in oxidation. The reaction further causes corrosion and rot within the lumber, which keeps on spreading with time if not controlled.
The solution to fix galvanic rot is by either repairing the damages or by removing and replacing the affected timber with a new one. It’s good to do this once every 2-3 years to stop the rot from spreading and doing greater damage.
b) Water Damage
Water and excess moisture are other key reasons that can make your wooden posts rot over time.
With changes in temperature conditions, wood posts tend to get cracks and gaps. And water can get a good chance to penetrate into the wood through these cracks.
If not repaired regularly, the wood will end up getting rots that become hard to fix.
c) Pest and Fungal Infestations
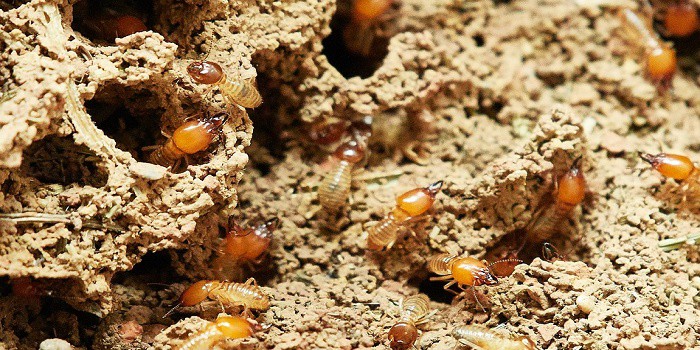
Insects like termites, along with fungus, can also make wood rot with time. These tiny organisms make holes, get into the wood to feed, and find shelter. Plus, they will increase in numbers with time.
As they grow in numbers and feed, the wood will continue to decay and get soften.

How to Treat Wood Posts for Ground Contact?
Wood rots in the fence posts, panels, and railings can be very discouraging.
Plus, it’s really distressing when you need to go through lots of work to fix the problem, which may sometimes result in replacing the whole wood that has been in contact with the ground and has been ruined completely.
To prevent wood posts from rotting in the ground, here are a few excellent ways and a step-by-step process that can help.
Step 1 – Prepare the wood
Before you proceed with applying the preservatives, it’s important that you prepare the wood posts.
If the wood is wet, allow it to dry for a few days. For drying, you don’t need any special equipment—just lay the posts on raised supports in a shaded, breezy area so air can circulate around them.
Remember, if you are preparing and installing the greenwood (which is fresh and humid), it can take a couple of months to dry completely.
Once you feel that the moisture content has evaporated and the wood is dried, start by cleaning the surface to remove the dirt and grime. After cleaning, sand the surface lightly using sandpaper and clean the sanded dust once again with a piece of cloth.
Step 2 – Choose the preservative
In the market, you will find a variety of products that can be used to preserve the wood against decay efficiently. Some of these wood preservatives include creosote, linseed oil, pentachlorophenol, and water-borne copper naphthenate.
It’s important to choose the one that is easier and safer to use. For this reason, water-borne preservatives that come with copper naphthenate can work best in most cases.
Step 3 – Apply the preservative
Once you have chosen the product, apply preservatives on the wooden fence posts nicely with a brush.
Make sure you brush the bottom third (or at least half of the lumber) to protect the parts of wooden posts that will be buried in the dirt.
After the application, allow the preservative to dry and get absorbed in the wood for 1-2 hours. Then apply a second coat on your wood posts and allow them to dry and cure.
Step 4 – Install the wooden posts
To install the posts in the ground, dig a hole that is about 2ft to 3ft deep and with a diameter that is 2-3 times more than the fence post’s diameter.
Make the posts stand upright and bury about one-third of its length in the soil making sure that the part of the wood that is coated with a preservative remains out above the ground.
Now, fill the hole with 1/4″ minus crushed gravel. Pack it tight to form a level base using a digging bar tool or a hand tamper. This will allow the rainwater from the posts to drain into the soil better.
IMO, you should avoid using concrete for sealing the posts in the ground because the moisture content in the concrete might cause the wood posts to rot sooner or later.
Keep in mind that soil around the fence post can cause water seepage, which can result in the decaying of wood. So, to improve drainage and prevent water-storing around the post, you should level the soil at a slight slope or an angle.
Step 5 – Finish the top of the wood posts
Once you have installed your wooden posts properly, do not forget to apply at least two coats of wood preservative on the top parts of the posts.
Let the wood dry between the coats and fix any damages, cracks, and gaps with a waterproof wood filler – if needed.
After a week or two, when the preservative is cured well, you can finish the wood to your liking with an oil-based paint or stain (solid or semi-transparent).

Can Pressure Treated Wood Be Buried in Dirt?
Obviously, you can. And IMO, you should always use treated wood outdoors, to build your fence posts, garden beds, or a piece of furniture in the garden.
However keep in mind – although treated wood is good at resisting various bugs, the same does not hold for moisture, water, and UV rays.
In simple terms, if you are burying treated wood in the dirt or using it for other underground structures, it can still rot.
In most cases, you can expect treated wood posts to last not more than one decade. However, the duration for which the wood can last inside the ground will usually depend on how well you have sealed and installed it underground and also on the climatic condition of your location.
For example, pressure-treated wooden posts that are set in concrete, cement, or stone can last up to 20-25 years. However, if the bottom of the wood post remains wet due to continuous contact with water in the soil, it might not last more than 7-8 years. Untreated wood is not resistant to rot and other damages at all. Hence you should seal them well and expect them to last for not more than 2-3 years.
How Can You Protect Treated Wood Underground?
Pressure-treated wood is chemically treated (with chemicals such as arsenic and chromium) to make it resistant to biological attacks and infestations.
However, when used underground, you should take proper steps to protect it against wood decay and to make it last longer.
For sealing pressure-treated wood fence posts, you will need to use the best below-ground wood preservative to keep the wood from rotting and going off.
1- Seal the wood
Before installing the treated wood posts into the ground, consider staining it with a waterproofing stain and then sealing it with an all-weather wood sealer such as Ready Seal.
2- Cement the submerged part
After you have buried the wood posts in the soil surrounding the submerged treated wood well with cement. This will make the posts stable.
3- Add some rocks and pebbles to the hole
This will allow a good drainage system to pass the water away from the wood deep into the soil, hence keeping the wood protected from rotting.

Can You Use Linseed Oil for Rot Prevention of Wood Posts?
Using linseed oil for outdoor wood is an excellent way to seal and keep the wood from rotting, especially for people who do not want to use preservatives that contain inorganic chemicals.
However, the drawback is it may not be as long-lasting as naphthenate. You may therefore need to reapply the oil every six to eight months to keep your posts protected.
To prevent the wood posts from getting disintegrated and to get the right finish, I recommend using a custom-made mixture of your own hand-rubbed oil blend.
This will typically contain boiled linseed oil (or tung oil), mineral spirits, and polyurethane formula in equal quantities.
- Add all of them into a jar and stir properly
- Apply the prepared blend to the prepared wood with a natural bristle paintbrush
- Allow the oil to soak into the wood for 2-3 hours, once dry apply a second coat and let it dry
As an alternative you can also char the wood posts before setting them in the ground.
Charring the ends of wood posts before putting them in the hole or placing them in the soil ground is a traditional, eco-friendly alternative to using synthetic preservatives. It not only repels pests but also allows the wood to breathe while minimizing water absorption.
This method, inspired by the Japanese technique called Shou Sugi Ban, is simple, effective, and helps ensure your fencing lasts for years.
The process creates a carbonized layer on the surface, which naturally resists moisture, insects, and fungi. This protective barrier helps prevent rot, making it especially useful for outdoor fencing where the posts are constantly exposed to soil and weather conditions.
Final Thoughts
Moisture and warmth of the ground soil can weaken the wood and can make it even more porous. This often makes your wooden posts and fences a site for biological infestation.
If you want to keep your wood posts standing up strong against the elements (like soil moisture, temperature, humidity, rain, and snow), you will need to treat them with wood sealers and preservatives consistently.
This is important irrespective of whether you are installing new posts or trying to stop the already installed old wood from rotting and decaying. All you will need is to make sure you choose the right products and follow the steps carefully.
Share the post "How to Prevent Wood Posts from Rotting in the Ground?"

Hi, I am Mark Garner a professional carpenter, woodworker, and DIY painter. I live in the small city of Peoria, Arizona as a semi-retired woodworker. I have started this blog with a simple motive to help you with my wood experience in this sector. If you like to know more about what I love doing and how it all got started, you can check more about me here.


