Sometimes called acrylic glass, Plexiglass is the most commonly used trademarked term for a strong plastic that is transparent and quite versatile.
Plexiglass can be used in various projects made from wood as an alternative to traditional glass, like creating boat and shed windows, displaying cabinets, and installing secondary glazing.
Flexibility is a major advantage of Plexiglass. Because it is stronger and more flexible than glass, it can replace glass in certain situations.
Given that it can be attached to wood makes the material even more versatile.
However, to do so will require following specific steps to keep the Plexiglass from chipping or falling apart.
You can use screws or glue to hold Plexiglass to wood. What follows is how to use screws and then glue to attach the Plexiglass safely.
Attaching Plexiglass to Wood with Screws
First of all, start by placing the plexiglass on a flat surface.
You’ll want to pinpoint the location of each screw by using a black marker.
To keep the Plexiglass from cracking, be sure each dot you place is at least one inch from the edge. This will keep the drill well within the Plexiglass as you pre-drill the holes.
Once you have done that, follow these steps…
Step 1- Power Drill
Use a one-quarter drill bit. Place the drill bit over any of the dots you made and start drilling into the Plexiglass.
Drill until the drill bit goes entirely through the Plexiglass. Repeat the process for each dot that you made.
Step 2- Place the Plexiglass on the Wood
With the holes drilled, you’ll want to place the Plexiglass on top of the wood for installation.
Now press the Plexiglass against the wood as you place the first screw.
Drill the screw through the pre-made hole and into the wood until the head is flush with the Plexiglass.
Step 3- Repeat for All Holes
Use the same process for drilling all the holes.
After drilling in all the screws, check to see that the Plexiglass is secured to the wood. You may need to drill more holes if it is not.
For this process, you will need to use a proper drill bit designed for plastic when drilling holes.
When drilling, be sure that the Plexiglass does not overheat.
Each time you drill a hole in the Plexiglass, let the drill bit cool for a few seconds before drilling another hole.
Use even pressure when drilling. This will also ensure that the Plexiglass does not crack when drilling holes.
Using Glue for Attaching Plexiglass to Wood (without Screws)
In this method, you will need to use a special type of glue known as methylene chloride. This glue is thin and will melt the acrylic to bond the pieces together.
This type of glue is more like solvent cement, which means that on contact, it will melt the Plexiglass so that it can attach to the wood.
For a permanent, high-strength bond between plexiglass and wood, you can also use a thickened cyanoacrylate (super glue). This adhesive provides a fast-acting, rigid hold.
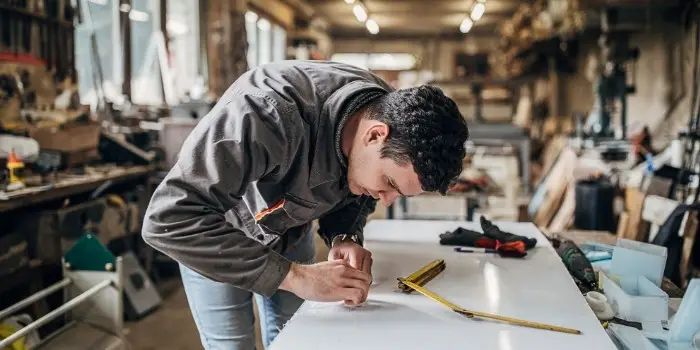
Step 1- Prep
To get started, you will need to use a workspace made from metal, wood, or concrete. When using wood, use Brown Wooden Board.
Start by cutting the Plexiglass, if required, so that you can combine the pieces into their proper shapes and sizes.
Also, it is recommended that you use Plexiglass which is at least one-quarter of an inch thick.
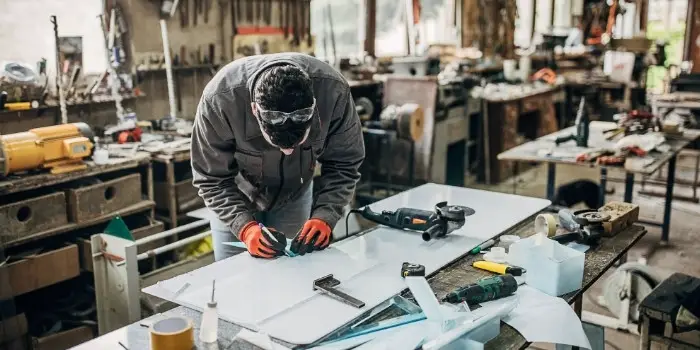
Thinner pieces can be used but should be scored with a utility knife so the glue sticks better to the wood.
For rough edges, sand or polish them down until they are smooth. It would help if you had smooth, clean edges for the glue to work.
Once completed, the protective film on the Plexiglass should be removed if that is required to keep the surface from scratching.
Step 2- Clean
Now clean the Plexiglass before using the glue to attach it to the surface.
Use water and mild soap to clean all the pieces of the Plexiglass, with special emphasis on the edges.
Once cleaned, rinse the pieces and dry them with a clean cloth. Dab the cloth onto the Plexiglass, as rubbing may cause scratches.
If you do not want to use soap, then isopropyl alcohol will work as well.
Step 3- Place
Now, place the Plexiglass on top of the wood for gluing. With the pieces clean, fit them together where they will be joined.
Once completed, secure the pieces together using clamps or masking tape.
Step 4- Apply the Glue
You are now ready to apply the glue to the Plexiglass. You’ll need to use a 25-gauge syringe to apply the glue.
By using a syringe, you can apply a small amount of the flue between two pieces of Plexiglass.
You can also use other types of glue when attaching the Plexiglass to the wood.
- Wear Safety Glasses and Rubber Gloves
- Be Sure Pieces are Together when Applying the Glue
Otherwise, if you try to apply the glue and then press the pieces together, you create a weak attachment. Plus, the pressure applied may deform the Plexiglass.
Step 5- Set the Glue and Sand
After application, allow the glue to be set for up to 48 hours.
This will ensure that the glue properly dries and that the bond is secure. After the time period has elapsed, you can remove the masking tape or clamps.
Finally, you will need to smooth the joints. Use good quality sandpaper to smooth out any rough surfaces caused by the adhesive.
Once sanded, wipe away any dust or grit that was created. You can clean the surface using soap and water or isopropyl alcohol.
Why Should You Use Plexiglass with Wood Instead of Traditional Glass?
It’s quite common to think of using traditional glass for windows instead of Plexiglass.
And for a time, glass was considered superior to Plexiglass in many regards.
However, today both Plexiglass and polycarbonate sheeting have improved considerably.
You see, both of these materials are used to a far greater degree thanks to advancements in the properties and methods from which they are made.
There are good reasons why you should use Plexiglass over traditional glass for windows in many situations. Some of them are:
a) Strong:
One big advantage of Plexiglass is its inherent strength.
Plexiglass has a higher impact strength compared to glass, meaning it requires considerably more force to shatter.
This makes it a better deterrent compared to standard glass for intruders. Plus, pets and kids are less likely to shatter the Plexiglass by accident.
b) Safe:
A big downside of traditional glass is the sharp shards that are created when it shatters.
Plexiglass is not only tough to shatter; it does not break apart into a thousand little pieces. This means you won’t have to worry about the sharp and dangerous little shards on the floor.
c) Glare Reduction:
Because the Plexiglass sheets allow more than 90% of the light through, it is more transparent than glass, reducing glare and reflections.
Plus, thicker Plexiglass is clearer and less likely to be discolored than thick sheets of traditional glass.
d) Ease of Use:
You can be pretty creative with Plexiglass compared to traditional glass. This means creating unique shapes thanks to how easy Plexiglass is to cut.
Given that Plexiglass is about half the weight of traditional glass, it is easier to cut, move, and install.
You can easily cut Plexiglass to make different designs or accent windows if you have a scoring tool, router, or table saw.
e) Cost:
Because it takes less energy to produce, Plexiglass usually is cheaper than traditional glass. This means you can save money while covering the same area.
And because Plexiglass weighs less than traditional glass, it is also cheaper to ship or transport.
Final Thoughts
Given how traditional glass is heavier, rigid, and brittle, Plexiglass has become the top choice for architectural pieces requiring intricate cutting or shaping.
It’s a suitable material for home projects and works well in business applications. Especially windows that are vulnerable to break-ins or being damaged by pets or kids.
You can find Plexiglass available in different styles and types, such as fluorescent, colored, and black or white sheets, for even greater variety.
And because you can attach colored Plexiglass securely using screws or glue, you can also do several DIY projects to impress your family and guests!
Share the post "How to Attach Plexiglass to Wood – With and Without Screws"
Termites are recognized as one of the most troublesome pests all over the world. They are small and numerous and Read more
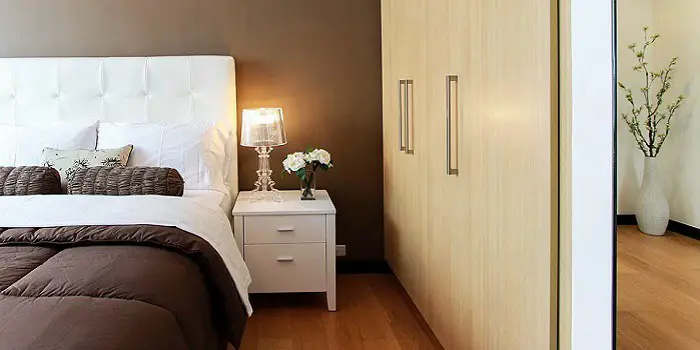
Our bedroom is a special place where we find relaxation and refresh after a hard day of toil - the Read more
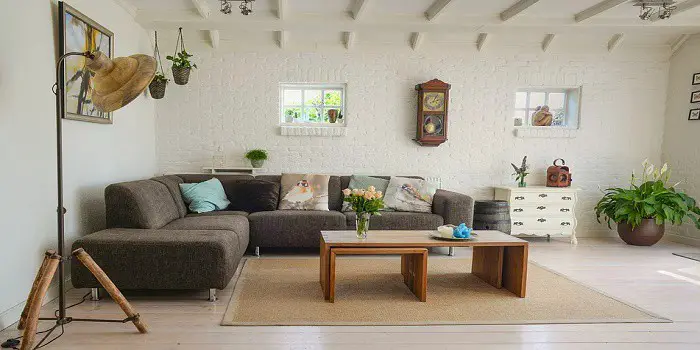
Let’s be honest: buying a sofa is a bit like dating. In the beginning, it’s all about the looks. You Read more
Wooden furniture, trims, doors, and windows are so long-lasting that you can easily repair and reuse them even after they Read more

Hi, I am Mark Garner a professional carpenter, woodworker, and DIY painter. I live in the small city of Peoria, Arizona as a semi-retired woodworker. I have started this blog with a simple motive to help you with my wood experience in this sector. If you like to know more about what I love doing and how it all got started, you can check more about me here.