Glue and similar adhesives have been used to bind different materials together for hundreds of years.
Most of them are designed to bind similar materials, such as metal-to-metal or wood-to-wood.
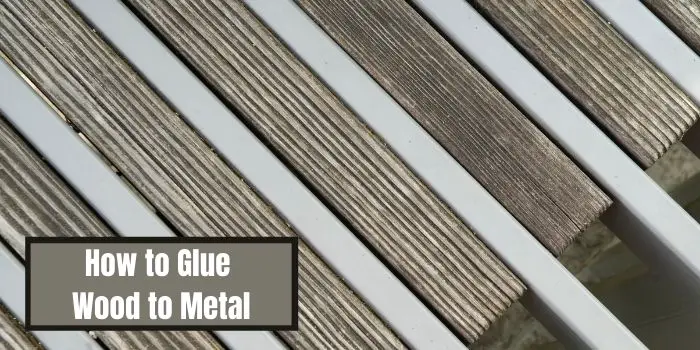
However, when gluing wood to metal without mechanical fasteners, you require a mix of high-tech chemistry, a bit of workshop wizardry, and—most importantly—the right strategy.
You may wonder what the best adhesive is to use for your specific project. So, let’s dive in…
Best Adhesive to Glue Metal and Wood
Not all glues are created equal. Depending on whether you need a quick fix or a structural bond that will outlast your mortgage, here are the top contenders:
1. Two-Part Glue
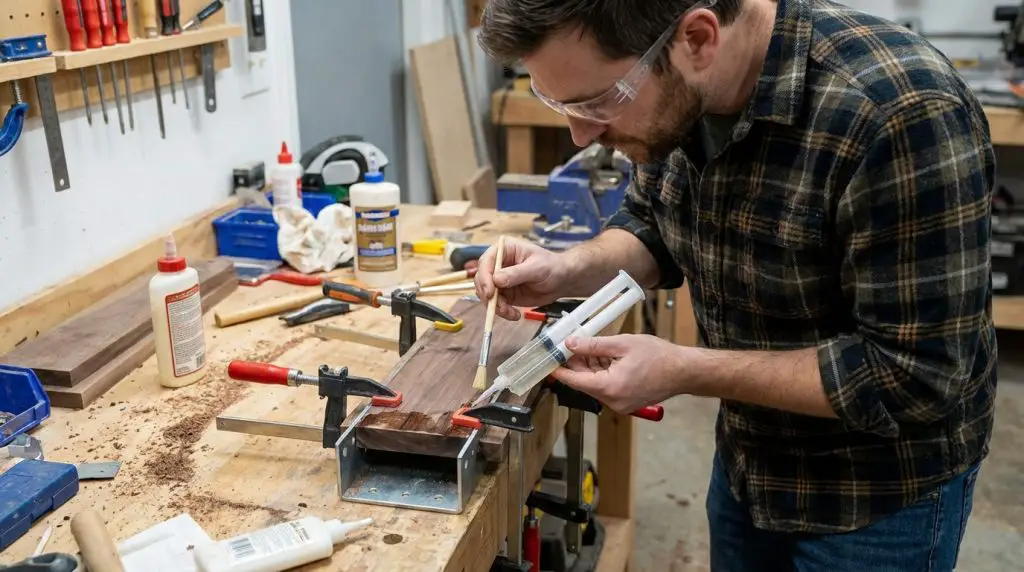
One of the best adhesives for gluing wood to metal is acrylate glue, otherwise known as two-part epoxy.
This kind of adhesive is made out of two materials: hardener and resin. Once they are mixed, they create a solid bond.
If you use two-part epoxy, begin by squeezing out equal amounts of hardener and gluing it onto some disposable material like plastic or cardboard.
Mix them thoroughly and then evenly apply the mixture to the surfaces that you want to glue together.
Keep in mind that it takes between five and 10 minutes to set; in this window, you can move the metal or wood around to position it correctly.
A curing period of 12 and 24 hours is required, and once the adhesive has cured, you can start using the newly joined item.
The Pros:
- Provides an excellent bond that lasts
- It comes in various colors to match what you’re working on
- Won’t get hard like super glue unless you mix the resin and hardener
The Cons:
The main problem is expansion. Epoxy lacks flexibility after it has been cured.
While wood expands after absorbing moisture but shrinks when it’s dry, metal expands with heat.
If you are putting glue on a large area, the contraction and expansion of wood and metal will need to be taken into account.
2. Gorilla Glue or Super Glue
This kind of glue has high bonding strength and works differently from glues for wood only.
It provides a stronger bond that won’t weaken on impact, with temperature changes, or when wet.
Since wood is more porous, it’s recommended to put the glue on first and then attach the metal surface.
To ensure the best results, make sure you use the right kind of glue, as certain glues are only right for certain light materials and wood and don’t have the resistance, strength, and durability for a wood and metal project.
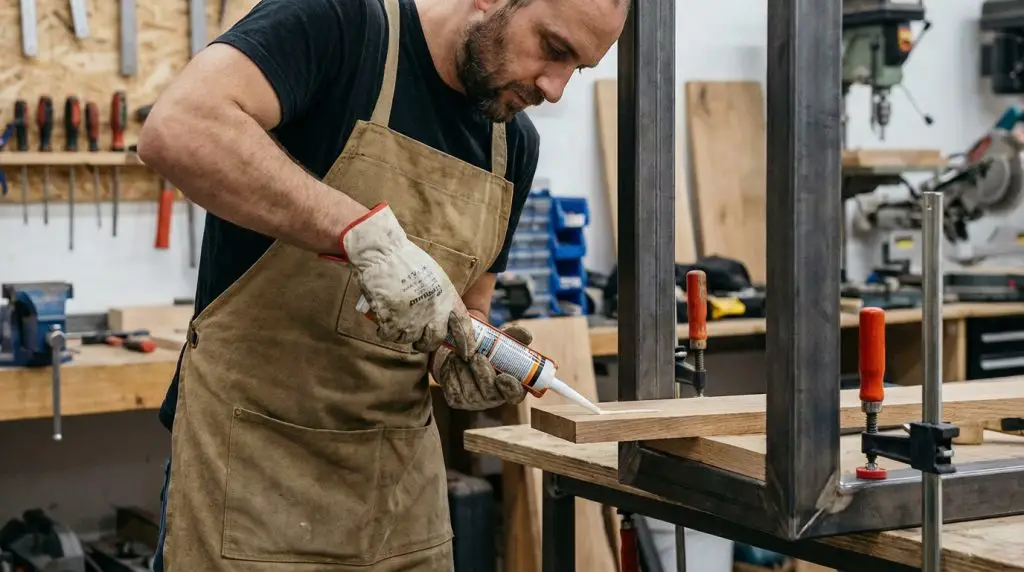
3. Liquid Nails to Join Wood and Metal
Liquid nails (heavy-duty construction adhesive) work well in sticking together wood and metal materials in many cases.
You can use it for sticking heavier or lighter materials, such as aluminum and plywood. The adhesive adjusts to variations in temperatures and is great for construction uses.
One of the most important reasons that Liquid Nails is so popular and versatile is the way it is compatible with bonding various porous as well as nonporous materials.
After it has been applied and has dried, it makes a remarkably strong bond that offers a super long-lasting hold.
The “Heavy Hitters” for Wood-to-Metal Bonds
| Glue Type | Best For… | Strength Level |
| Two-Part Epoxy | Gap filling and permanent structural bonds. | Elite |
| Polyurethane (Gorilla Glue) | Outdoor projects and slightly porous surfaces. | High |
| Cyanoacrylate (Super Glue) | Tiny repairs or “tacking” pieces in place. | Medium |
| Construction Adhesive | Large surface areas (like wall panels). | Industrial |
Why Use Glue for Attaching Metal to Wood?
Wood is more porous and less dense than metal, meaning that glue often works better when applied to wood since it can easily get into its surface.
Metal can be glued together as well, but it is more effective to weld the pieces together, as it is the more robust method to make the attached pieces last longer.
Welding is impossible with wood, and also, you can’t use a nail gun to attach wood to any thick metal because the nails can’t easily penetrate the metal.
So, glue is the best way to bind wood to metal when you don’t want to drill any holes in the metal or the timber. If you need to attach wood to the metal firmly you can of course glue them and use a threading clamp to fasten them with screws.
Tips for Gluing Wood to Metal Without Screws
Let’s be honest: without screws or nails to force the relationship between wood and metal, you are relying entirely on interfacial polymerization and mechanical anchors.
If you don’t prep the surfaces correctly, you aren’t “bonding” them—you’re just giving them a suggestion to stay together that they will promptly ignore.
Here is the technical breakdown on how to create a bond that actually lasts.
1. The Surface Science (Prep is Everything)
In the world of adhesives, “clean” is a relative term. To a chemist, your “clean” workbench is a disaster zone of oils and oxidation.
Degreasing: Metal often carries a microscopic film of machine oil or mill scale.
Wipe it down with Acetone or Methyl Ethyl Ketone (MEK). Avoid mineral spirits, as they can leave an oily residue that acts as a release agent.
Mechanical Keying: Since metal isn’t porous, you must create a “profile.”
Use 60 to 80-grit sandpaper to create microscopic grooves (a “mechanical key”) for the adhesive to bite into.
The Wood Factor: Ensure the wood moisture content is stable (ideally 6-8%).
If the wood is too wet, the water molecules will interfere with the chemical cure of many high-end epoxies.
2. Choosing Your “Mediator”
You can’t just grab a glue stick and hope for the best. You need an adhesive designed for dissimilar substrate bonding.
Two-Part Epoxies: The gold standard. Epoxies like West System or PC-7 offer high shear strength and gap-filling properties.
They cure via a chemical reaction rather than evaporation, meaning they don’t shrink.
Polyurethanes: (e.g., Original Gorilla Glue). These are “moisture-cured.” They are excellent for outdoor use, but be warned: they foam and expand.
If you don’t clamp them with the strength of a titan, the gas bubbles will push your wood right off the metal.
Modified Silane (MS) Polymers: These are the “new kids” on the block—extremely flexible and vibration-resistant.
Perfect if the metal is going to be subjected to temperature swings.
3. Professional Execution Tips
The “Double-Sided” Approach: For porous wood, apply a thin “prime” coat of adhesive to the wood first, let it soak in for a minute, then apply the main bead.
This prevents the wood from “starving” the joint by soaking up all the glue.
Clamping Pressure: Unlike wood-to-wood joints where you want to squeeze out as much glue as possible, metal-to-wood needs a specific bond line thickness.
If you clamp too hard, you’ll starve the joint (Squeeze-out is your enemy here). Aim for firm, even pressure—not “white-knuckle” tight.
Thermal Management: Remember that metal conducts heat faster than wood.
If you’re curing your project in a cold garage, the metal will act as a heat sink and can significantly delay (or even stop) the chemical curing process of epoxies.
Keep it in a climate-controlled space.
Total Cure vs. Tack Time: Just because the glue feels dry doesn’t mean the cross-linking is finished.
For structural loads, wait at least 24 hours. Moving it too early can cause “micro-fractures” in the bond that will lead to failure a month down the road.
How Can You Stick Wood to Metal Without Glue?
When glue is off the table—perhaps because you value your sanity, your upholstery, or the pristine finish of your project—you have to pivot from chemical bonding to mechanical or pressure-sensitive fastening.
Let’s be clear: liquid adhesives are messy, unpredictable, and have a habit of “ghosting” (seeping through) thin veneers.
If you want a clean, “dry” assembly, here is how you bridge the gap between wood and metal without the sticky aftermath.
1. High-Bond Pressure Sensitive Adhesives (VHB Tapes)
If you’re thinking of the scotch tape in your junk drawer, think again. Professional-grade VHB (Very High Bond) acrylic foam tapes are the hidden heroes of the industrial world—they’re literally what hold the glass panels onto skyscrapers.
The Technical Edge: These double-sided gum tapes provide “viscoelasticity,” meaning they act like a solid and a liquid simultaneously.
They absorb the differential thermal expansion between the wood and metal, preventing the bond from “shearing” when the temperature changes.
These tapes are best for thin trims, veneers, inlays, and decorative panels. You must use a J-roller to apply significant pressure. These adhesives are “pressure-activated”; without a firm roll-down, you’re just resting the wood on the tape, not bonding it.
2. Mechanical Fastening (Screws & Rivets)
While it requires a bit more “shop class” swagger, mechanical fastening is the only way to guarantee a structural, permanent connection.
Self-Tapping Wood-to-Metal Screws: These are engineered with a “winged” tip. The wings ream a slightly larger hole in the wood (preventing splitting) and then break off when they hit the metal, allowing the threads to engage the steel directly.
The “Pocket Hole” Maneuver: If you want the strength of a screw without the visual clutter, use a pocket-hole jig to hide the fastener on the underside or backside of the wood.
Blind Rivets: If you’re attaching thin wood to a hollow metal tube where you can’t reach the inside, a pop-rivet with a “large flange” provides a clean, industrial aesthetic and an unbreakable grip.
3. Magnetic Integration
For projects that require versatility—like a wooden tool rack on a metal backsplash or removable cabinet panels—Neodymium (Rare Earth) magnets are the sophisticated choice.
The benefits it provides are zero mess, zero permanent damage, and a satisfying “snap” every time the materials meet.
To set up the project correctly, countersink the magnets into the wood using a Forstner bit, and then either let them grab the steel directly or install a matching “strike plate” on the metal surface.
How to Connect Exterior Wood to Steel Without Fasteners?
Connecting exterior wood to steel without mechanical fasteners is the ultimate engineering “blind date.”
You are forcing an organic, hygroscopic material (wood) to bond with a dense, non-porous, and thermally reactive one (steel). In an outdoor environment, these materials will expand and contract at wildly different rates, meaning a rigid bond will eventually shear and fail.
To succeed, you need a Structural Flexible Adhesive—specifically an MS Polymer (Modified Silane) or a High-Performance Polyurethane.
1. The Chemistry of the Bond
Standard epoxies are often too brittle for exterior wood-to-steel applications.
As the sun hits the steel, it expands rapidly; meanwhile, the wood swells with humidity.
An MS Polymer adhesive acts like a microscopic shock absorber, maintaining its elongation at break (flexibility) while resisting UV degradation and moisture.
2. Micro-Mechanical Anchoring
Since you aren’t using screws, the surface “profile” is your only defense.
- To prep the steel, you must remove the “mill scale” (the bluish coating on new steel) using a flap disc or 60-grit sandpaper.
- Clean the surface with Acetone to remove oils. If the steel isn’t shiny and scratched, the glue is just sitting on dirt.
- Then, for wood prep, ensure the wood is dry (below 15% moisture). Scuff the mating surface to open the grain fibers.
3. The “Glue Line” Secret and Critical Execution
A common mistake is “starving the joint” by clamping too hard. Adhesives need a specific bond line thickness (usually 1-3mm) to function.
Use small plastic spacers or “shims” to ensure you don’t squeeze all the glue out. This thickness allows the adhesive to stretch and compress as the materials move.
Then apply the adhesive in vertical beads (not closed loops) to allow air and moisture to reach the center of the bond for a complete cure.
Clamp firmly but not excessively, and allow a full 48 to 72 hours for a total chemical cross-link before subjecting the joint to any load.
Related FAQs
Can you attach wood to steel with glue?
Absolutely, but don’t expect a standard craft glue to do the heavy lifting. Because steel is non-porous and wood is atmospheric, you need a high-performance two-part epoxy or a polyurethane adhesive.
Success depends entirely on surface energy: you must de-gloss the steel with an abrasive (60-80 grit) and degrease it with acetone.
This creates a mechanical “key” that allows the polymer chains to anchor into the metal while gripping the wood fibers.
Does wood glue work to fix an aluminum plate to wood flooring?
In the world of joinery and carpentry, using standard PVA wood glue for this is a recipe for failure. Wood glue works via evaporation and requires two porous surfaces to create a bond.
Since aluminum is an impermeable “shield,” the glue will never fully cure and has nothing to grab onto.
Instead, use a moisture-cure polyurethane or a heavy-duty construction adhesive like Liquid Nails (Fuze It), which is engineered to bridge the gap between organic flooring and metal.
What’s the best adhesive for bonding metal trim to particle board?
Particle board is notoriously thirsty and structurally fragile, so you need an adhesive that won’t oversaturate the core.
A Contact Cement is the professional choice for trim; you apply it to both the metal and the door, wait for it to become tacky, and then press.
For a more “DIY-friendly” but permanent fix, a thixotropic (gel) Cyanoacrylate with an activator spray works wonders. It provides an instant bond without the clamping nightmares usually associated with vertical door surfaces.
Final Thoughts
Trying to get wood and metal to bond is a bit like setting up a date between a nature lover and a robot. They speak completely different languages, have zero chemistry on their own, and if you don’t use the right mediator, the whole thing falls apart the moment things get heavy.
Whether you’re mounting a sleek steel bracket to a rustic oak tabletop or fixing a loose handle on a vintage tool, you can’t just rely on a prayer and some school glue.
Wood breathes and moves; metal is rigid and stubborn. To bridge that gap, you need an adhesive that offers the grip of a drill bit but the flexibility of a yoga instructor.
An adhesive will allow you to attach the metal piece to the wood without using the screws. However, be aware that the kind of glue you want will depend on your specific project and the specs of the material you’re using.
Share the post "How Do You Attach Wood to Metal (Without Any Screws)"
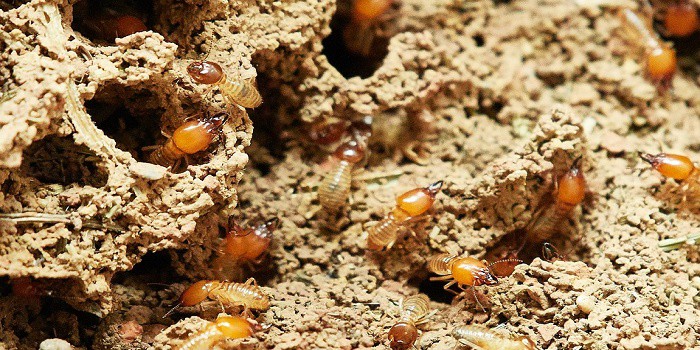
Termites are recognized as one of the most troublesome pests all over the world. They are small and numerous and Read more
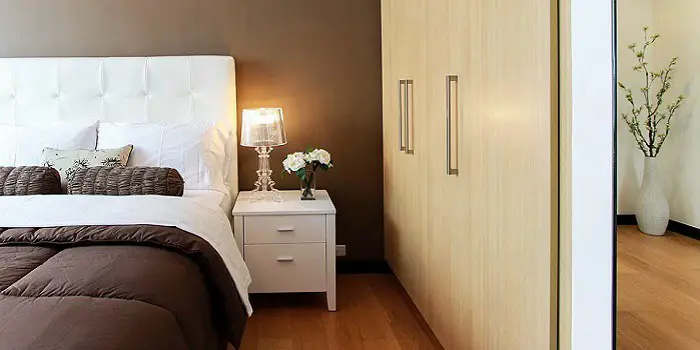
Our bedroom is a special place where we find relaxation and refresh after a hard day of toil - the Read more
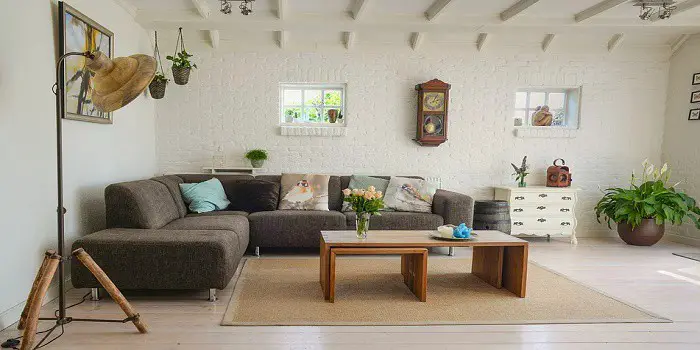
Let’s be honest: buying a sofa is a bit like dating. In the beginning, it’s all about the looks. You Read more
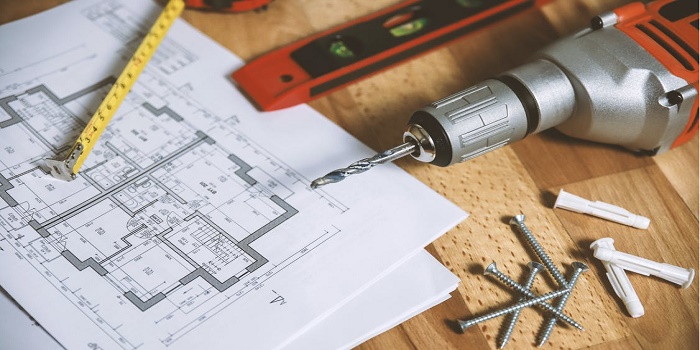
Wooden furniture, trims, doors, and windows are so long-lasting that you can easily repair and reuse them even after they Read more

Hi, I am Mark Garner a professional carpenter, woodworker, and DIY painter. I live in the small city of Peoria, Arizona as a semi-retired woodworker. I have started this blog with a simple motive to help you with my wood experience in this sector. If you like to know more about what I love doing and how it all got started, you can check more about me here.