Getting a wood splinter stuck in your finger or toe is no laughing matter.
The pain they cause is such that it is desirable to ensure that all wood objects are free of splinters.
However, without proper maintenance, you may find that wooden shelves, handles, and even doorknobs are at risk of splintering.
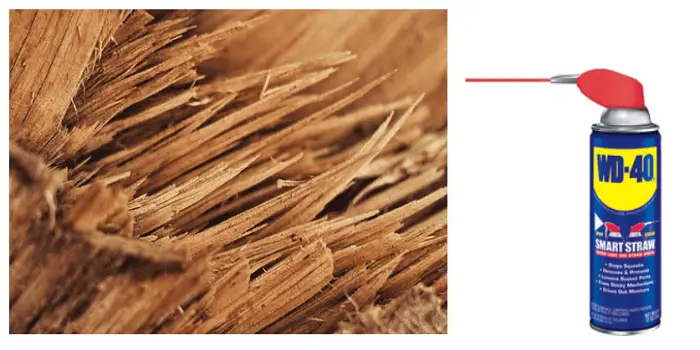
To fix this problem, you can turn to a product that is most associated with providing lubrication to metal objects.
Yes, I am talking about WD-40, which is one such product that can be used not only to fix the splintered wood but also to seal the wood so that it no longer splinters.
WD-40 will also expertly clean up your painted wood surfaces (like deck, floors, and furniture) as long as you quickly spray the product and wipe away the residue without allowing it to sit.
However, to make WD-40 work on wood, you will need to follow the right steps.
How to Fix Wood Splinters with WD-40?
In addition to a can of WD-40, you will need to have some medium grit sandpaper and a clean, dry rag.
Once you have all three, you can start the process of making wood splinter-free.
Step 1: Sand
Use sandpaper to smooth out the wood. The goal is to work from the top of the object to the bottom.
Pay particular attention to the areas that are most frequently touched and sand away any rough patches or wood that is protruding.
Step 2: Spray Wd-40
Spray a generous amount of WD-40 onto the clean rage and rub it all over the wood. This will not only clean up the wood but will provide protection over the long haul.
Keep in mind that sanding alone will smooth out the wood, but the splinters will quickly reform unless you add the WD-40.
The oil will protect the wood and keep it together so it does not dry out and start to splinter again.
Plus, any metal objects inside the wood, such as nails, will be protected from rusting.
Step 3: Wipe the Surface
Wipe away the residue, and the wood is now prepared.
Every few months, you should repeat the process to prevent the wood from splintering again.
And since WD-40 serves various different other purposes as well in your home and garage, it’s good to have a can or two of this sprayer solution in your store ready all the time.
How can you get WD-40 off the wood surface?
In case there’s an excess WD-40 sprayed on the surface, it’s essential to clean it off.
But, since WD 40 is a lubricant, it repels water which means you cannot clean it off by just using water.
To remove WD-40 from the wood surfaces, first, wipe off the lubricant with a cloth or paper towel as much as you can.
Then pour some dishwashing detergent liquid or shampoo on the wood surface.
Finally, wipe the surface using dampened sponge or foam in water to remove all the residue and stains.
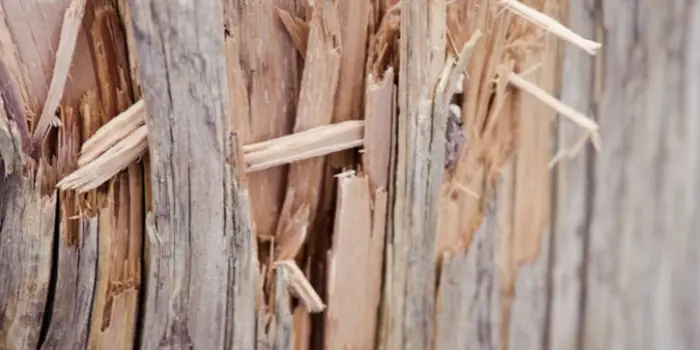
What Causes Wood to Splinter?
Moisture is the real culprit that causes swelling and splintering in the wood.
The moisture can be due to spills, water leaks, or excess humidity in your house, which is left uncontrolled for a long.
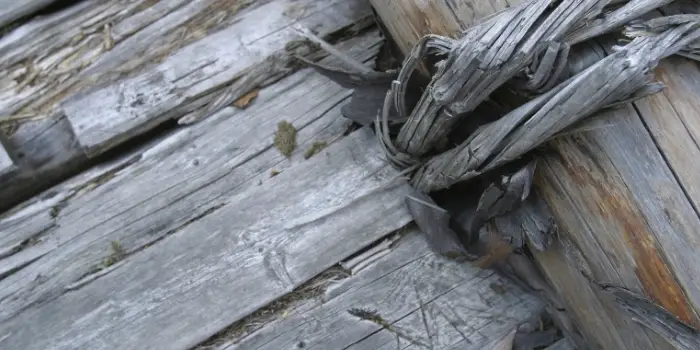
You can notice these splinters as rough edges on barn boards or roof boards that may have been weathered, or cracked, have nails in them, and the like.
Splintered wood is not only unattractive but can be dangerous due to its sharpness.
And the worst part is if you leave it unrepaired – you are leaving the wood vulnerable to further splintering that can be hard to fix later.
How to Repair Splintered Wood without WD-40?
WD-40 is a multi-use lubricant that can be used to fix creaky and splintering wood.
But what if you do not have any WD-40, or perhaps the wood you are using does not work well with that product?
If so, there are ways you can repair the splintered wood without having to use WD-40.
For only a few splinters on the wood, you can easily break them off or cut them using a small saw or sharp knife.
If the wood has large splinters, you can follow these steps…
Step 1: Sand
Use 80-grit sandpaper on a palm sander to smooth out the wood. This will reduce the weathered look of the wood, but it will get rid of the splinters.
Change to 120-grit sandpaper and smooth out the wood yet again.
If the wood is to become part of a floor or perhaps a table, then you will need the additional sanding to reduce the splinter count.
Step 2: Use wood filler
All nail holes and cracks should be filled with a wood filler.
Use a putty knife to add the filler compound and sand away the excess. Be sure the filler you use matches the color of the wood.
If that is not possible, then stain the wood after completion to even out the color scheme.
Step 3: Use polyurethane
Use a polyurethane finish for your barn boards or other types of wood.
If you do not have any polyurethane finish, then boiled linseed or tung oil can be used. In addition, shellac and lacquer are also good choices.
Be sure to follow the instructions from the manufacturer on how to use the finish.
Keep in mind that a heavy finish may not be necessary unless the boards are going to undergo a lot of use.
The finish will help keep the wood boards from splintering for a considerable time.
Will Painting or Staining Make a Splinter-Free Wood?
The answer is yes; it will make the wood splinter-free if you sand it first.
If you are thinking of re-coating your deck with a stain or paint, then you should follow the steps to make it splinter-free first and then add the outer coating.
To bring out the natural beauty of the wood, it is recommended that you use a semi-transparent stain.
Follow the instructions and apply the coat of stain quickly once the deck has been sanded.
However, if you are looking to better protect the wood from the UV rays of the sun along with the elements, then painting it is the answer.
You will want to use an acrylic-based finish as it is much thicker than standard paints.
Again, start by sanding the deck first to get rid of any splinters that might be present.
Next, use wood putty of a matching color to fill in any holes, divots, or cracks in the wood.
Then apply the finish or paint to the deck. Use a roller for the first coat and then a brush for the second.
This will provide a smooth finish to the woodgrain. Be sure to allow up to three days for the paint to properly dry.
That will allow it to blend with the wood, so you have a stunning deck to show off to your friends and family.
Final Thoughts
Originally designed by the Rocket Chemical Company in 1953 as a degreaser and solvent for the aerospace industry, the use of WD-40 has quickly become widespread.
Not only to remove stains, grime, and grease from surfaces like metal and glass, but this special blend of lubricants is also safe to use on wood, siding, and hardwood floors.
In fact, WD-40 is safe, effective, and inexpensive, which makes it perfect for protecting your wooden furniture around the home.
Just in case you find any splinters in your old furniture or want to fix the splintered wood boards, use some WD-40.
It will most likely smoothen and fix the wood splintering problem very fast.
Share the post "Can You Use WD-40 on Wood – To Fix and Seal Splinters?"

Wooden pallets are found highly useful in industries that involve packaging and distributing goods. Packing the goods in these wooden Read more

Timber and aluminium windows are the two most popular options when it comes to choosing window frames for your home. Read more
Whether you're drying out some damp lumber for a weekend woodworking project or prepping sola wood flowers for your latest Read more

The old saying that the better you prepare, the more likely you are to succeed applies to painting and any Read more

Hi, I am Mark Garner a professional carpenter, woodworker, and DIY painter. I live in the small city of Peoria, Arizona as a semi-retired woodworker. I have started this blog with a simple motive to help you with my wood experience in this sector. If you like to know more about what I love doing and how it all got started, you can check more about me here.